Sandboxes
A sandbox is an isolated compute environment (a microVM, powered by Azure Developer Compute) that an agent workflow can run code in. Use it when an agent needs to:
- Run shell commands, scripts, or build tools.
- Browse a real filesystem.
- Operate on cloned source-control repositories.
- Invoke skills bundled with those repos.
Sandboxes live at the project level — multiple workflows across multiple apps can target the same sandbox, and the sandbox setup (auth, cloned repos, skills) is configured once.

Two ways to use a sandbox
Section titled “Two ways to use a sandbox”You can run agents in a sandbox without any pre-configuration (a clean image, just-in-time) or with a pre-baked image that already has your repos cloned and your skills available. Pick the path that matches what you need:
| Option | When to use it |
|---|---|
| Just-in-time sandbox | Quickest path. Try the sandbox experience, run general code, no custom repos needed. |
| Pre-baked sandbox with repos & skills | The agent needs your code — cloned repos, custom skills, dev tools. Image is built once and reused. |
Prerequisites
Section titled “Prerequisites”For either path:
- A project you have access to.
- An application inside that project.
- A workflow inside the application — see Quickstart if you need to create one.
Option 1 — Just-in-time sandbox
Section titled “Option 1 — Just-in-time sandbox”The simplest way to try the sandbox experience. No image-building, no repos to wire up. The sandbox is spun up on demand for the agent loop.
Step 1 — Open the agent in the designer
Section titled “Step 1 — Open the agent in the designer”In the workflow designer, click on the agent node to open its panel.
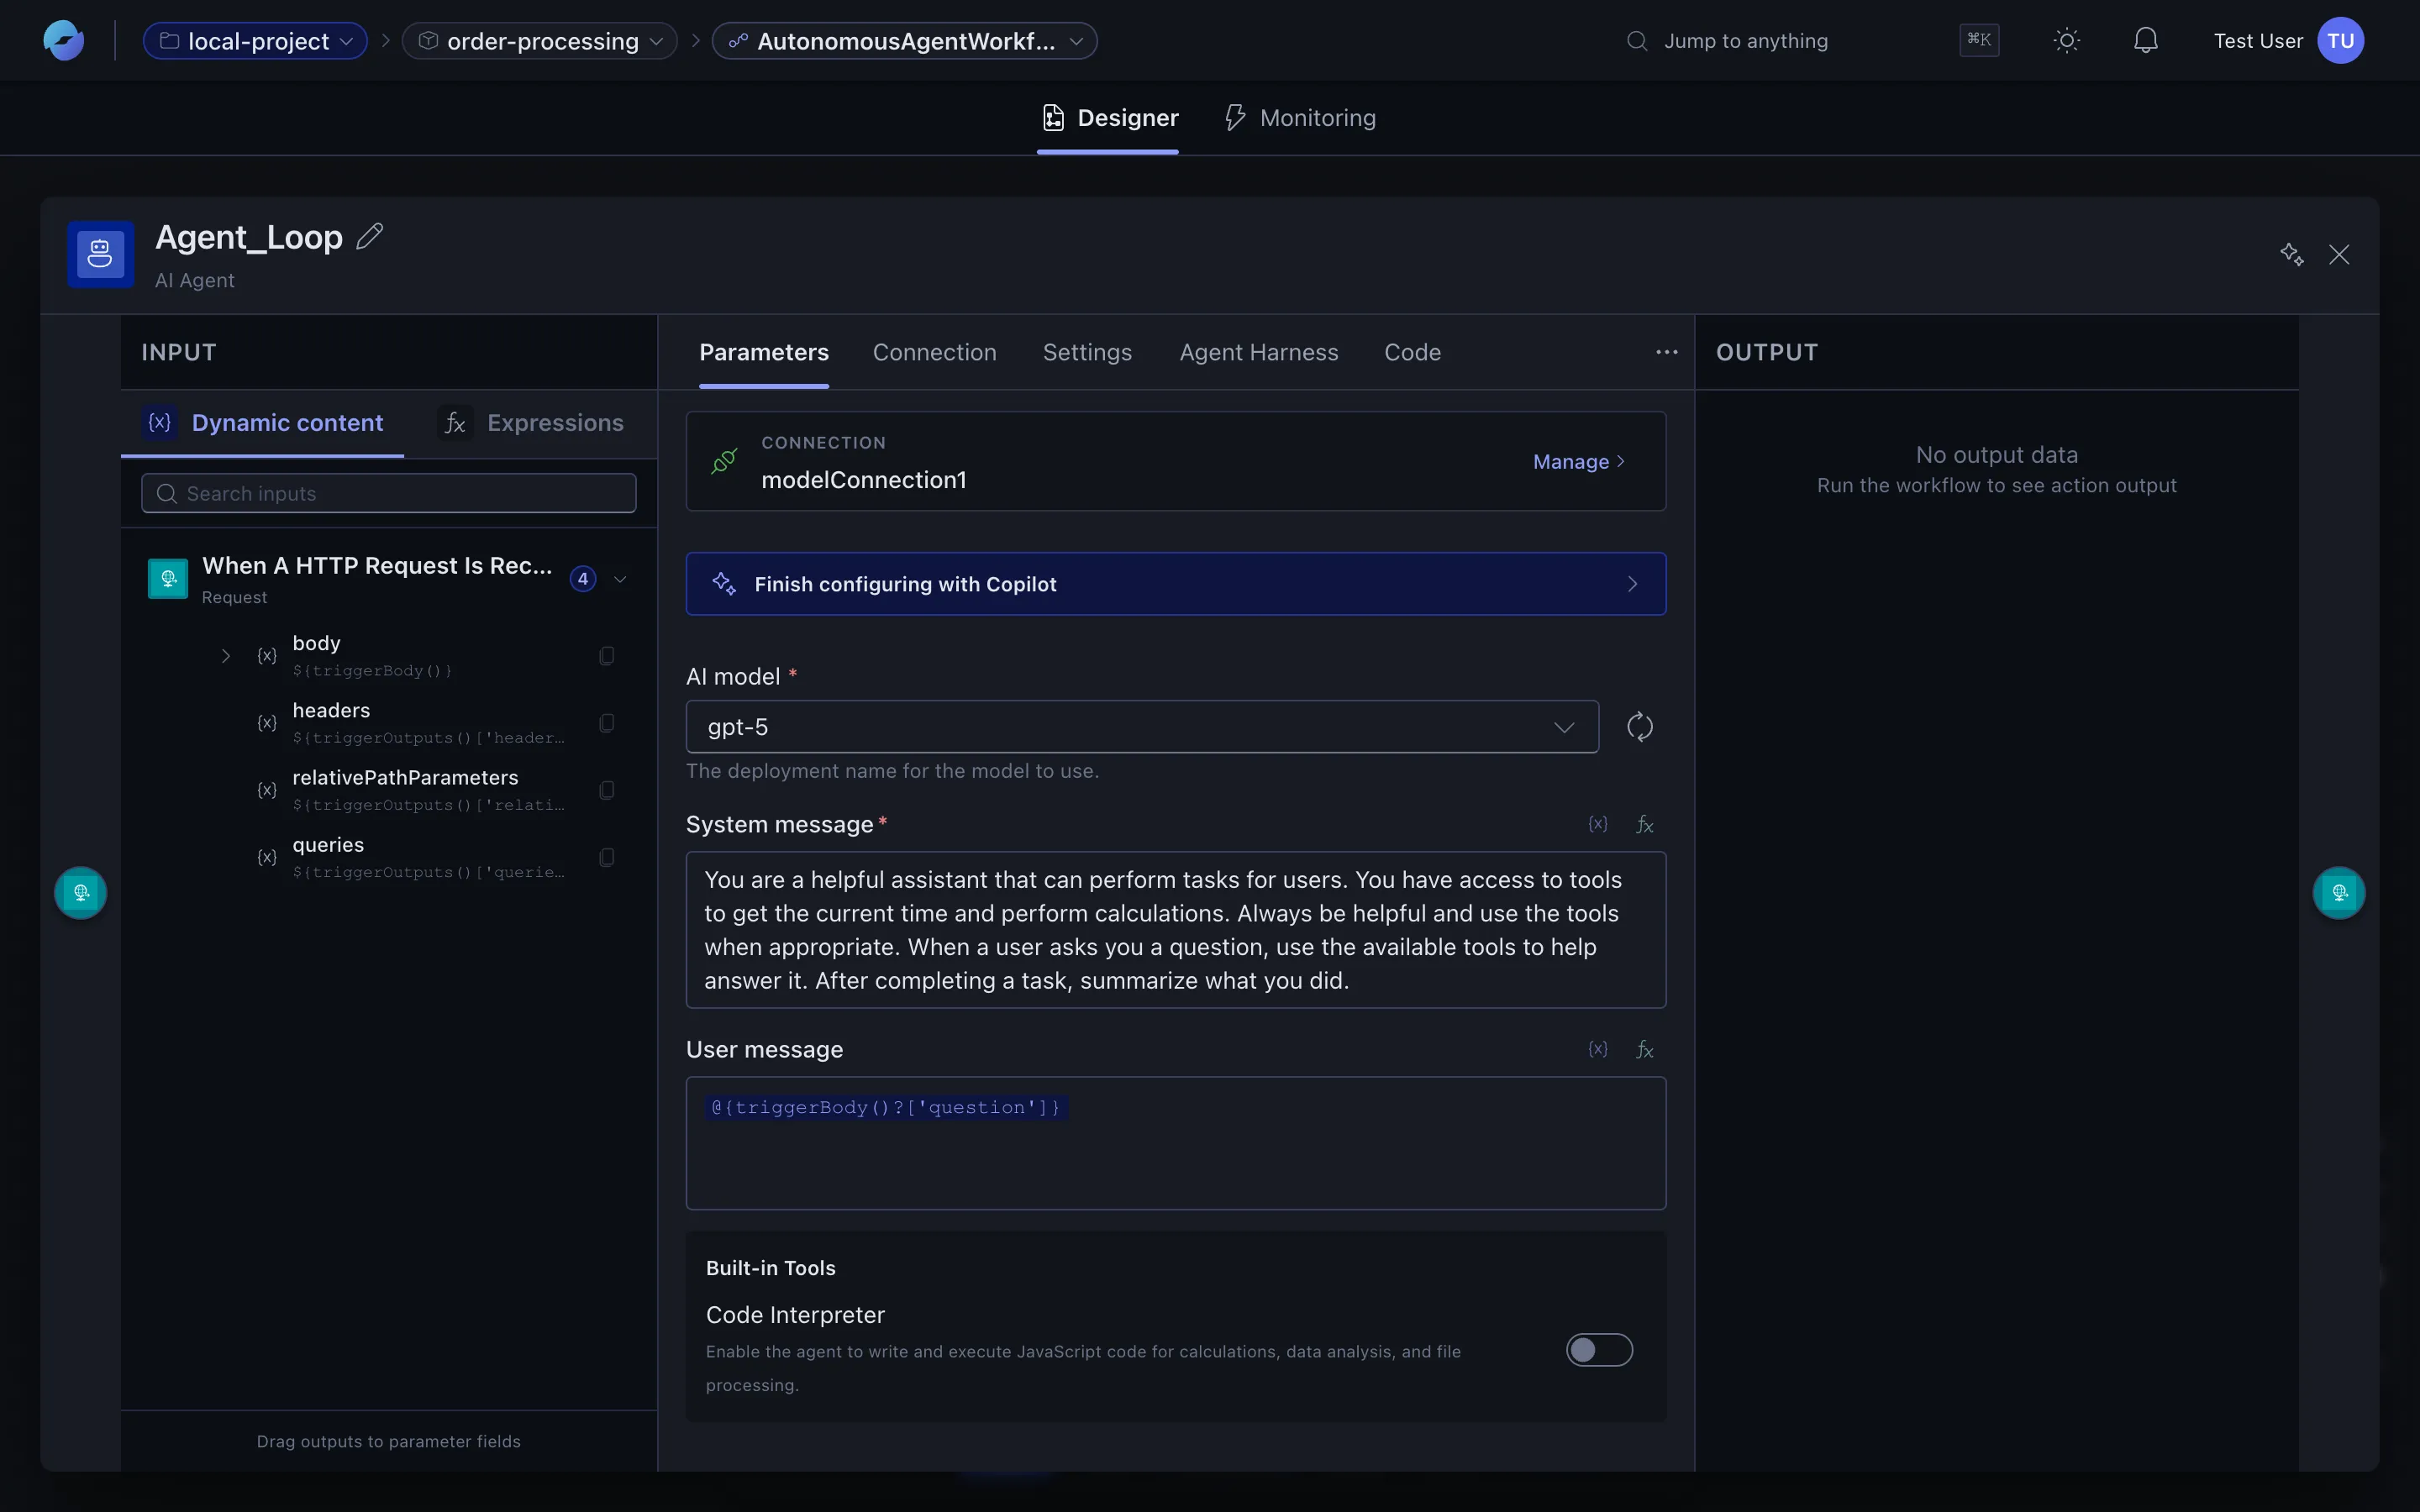
Step 2 — Configure the Agent Harness
Section titled “Step 2 — Configure the Agent Harness”Switch to the Agent Harness tab. The Agent Harness configures the sandbox environment where the agent executes — it provisions an isolated compute container with tools and (optionally) repos.
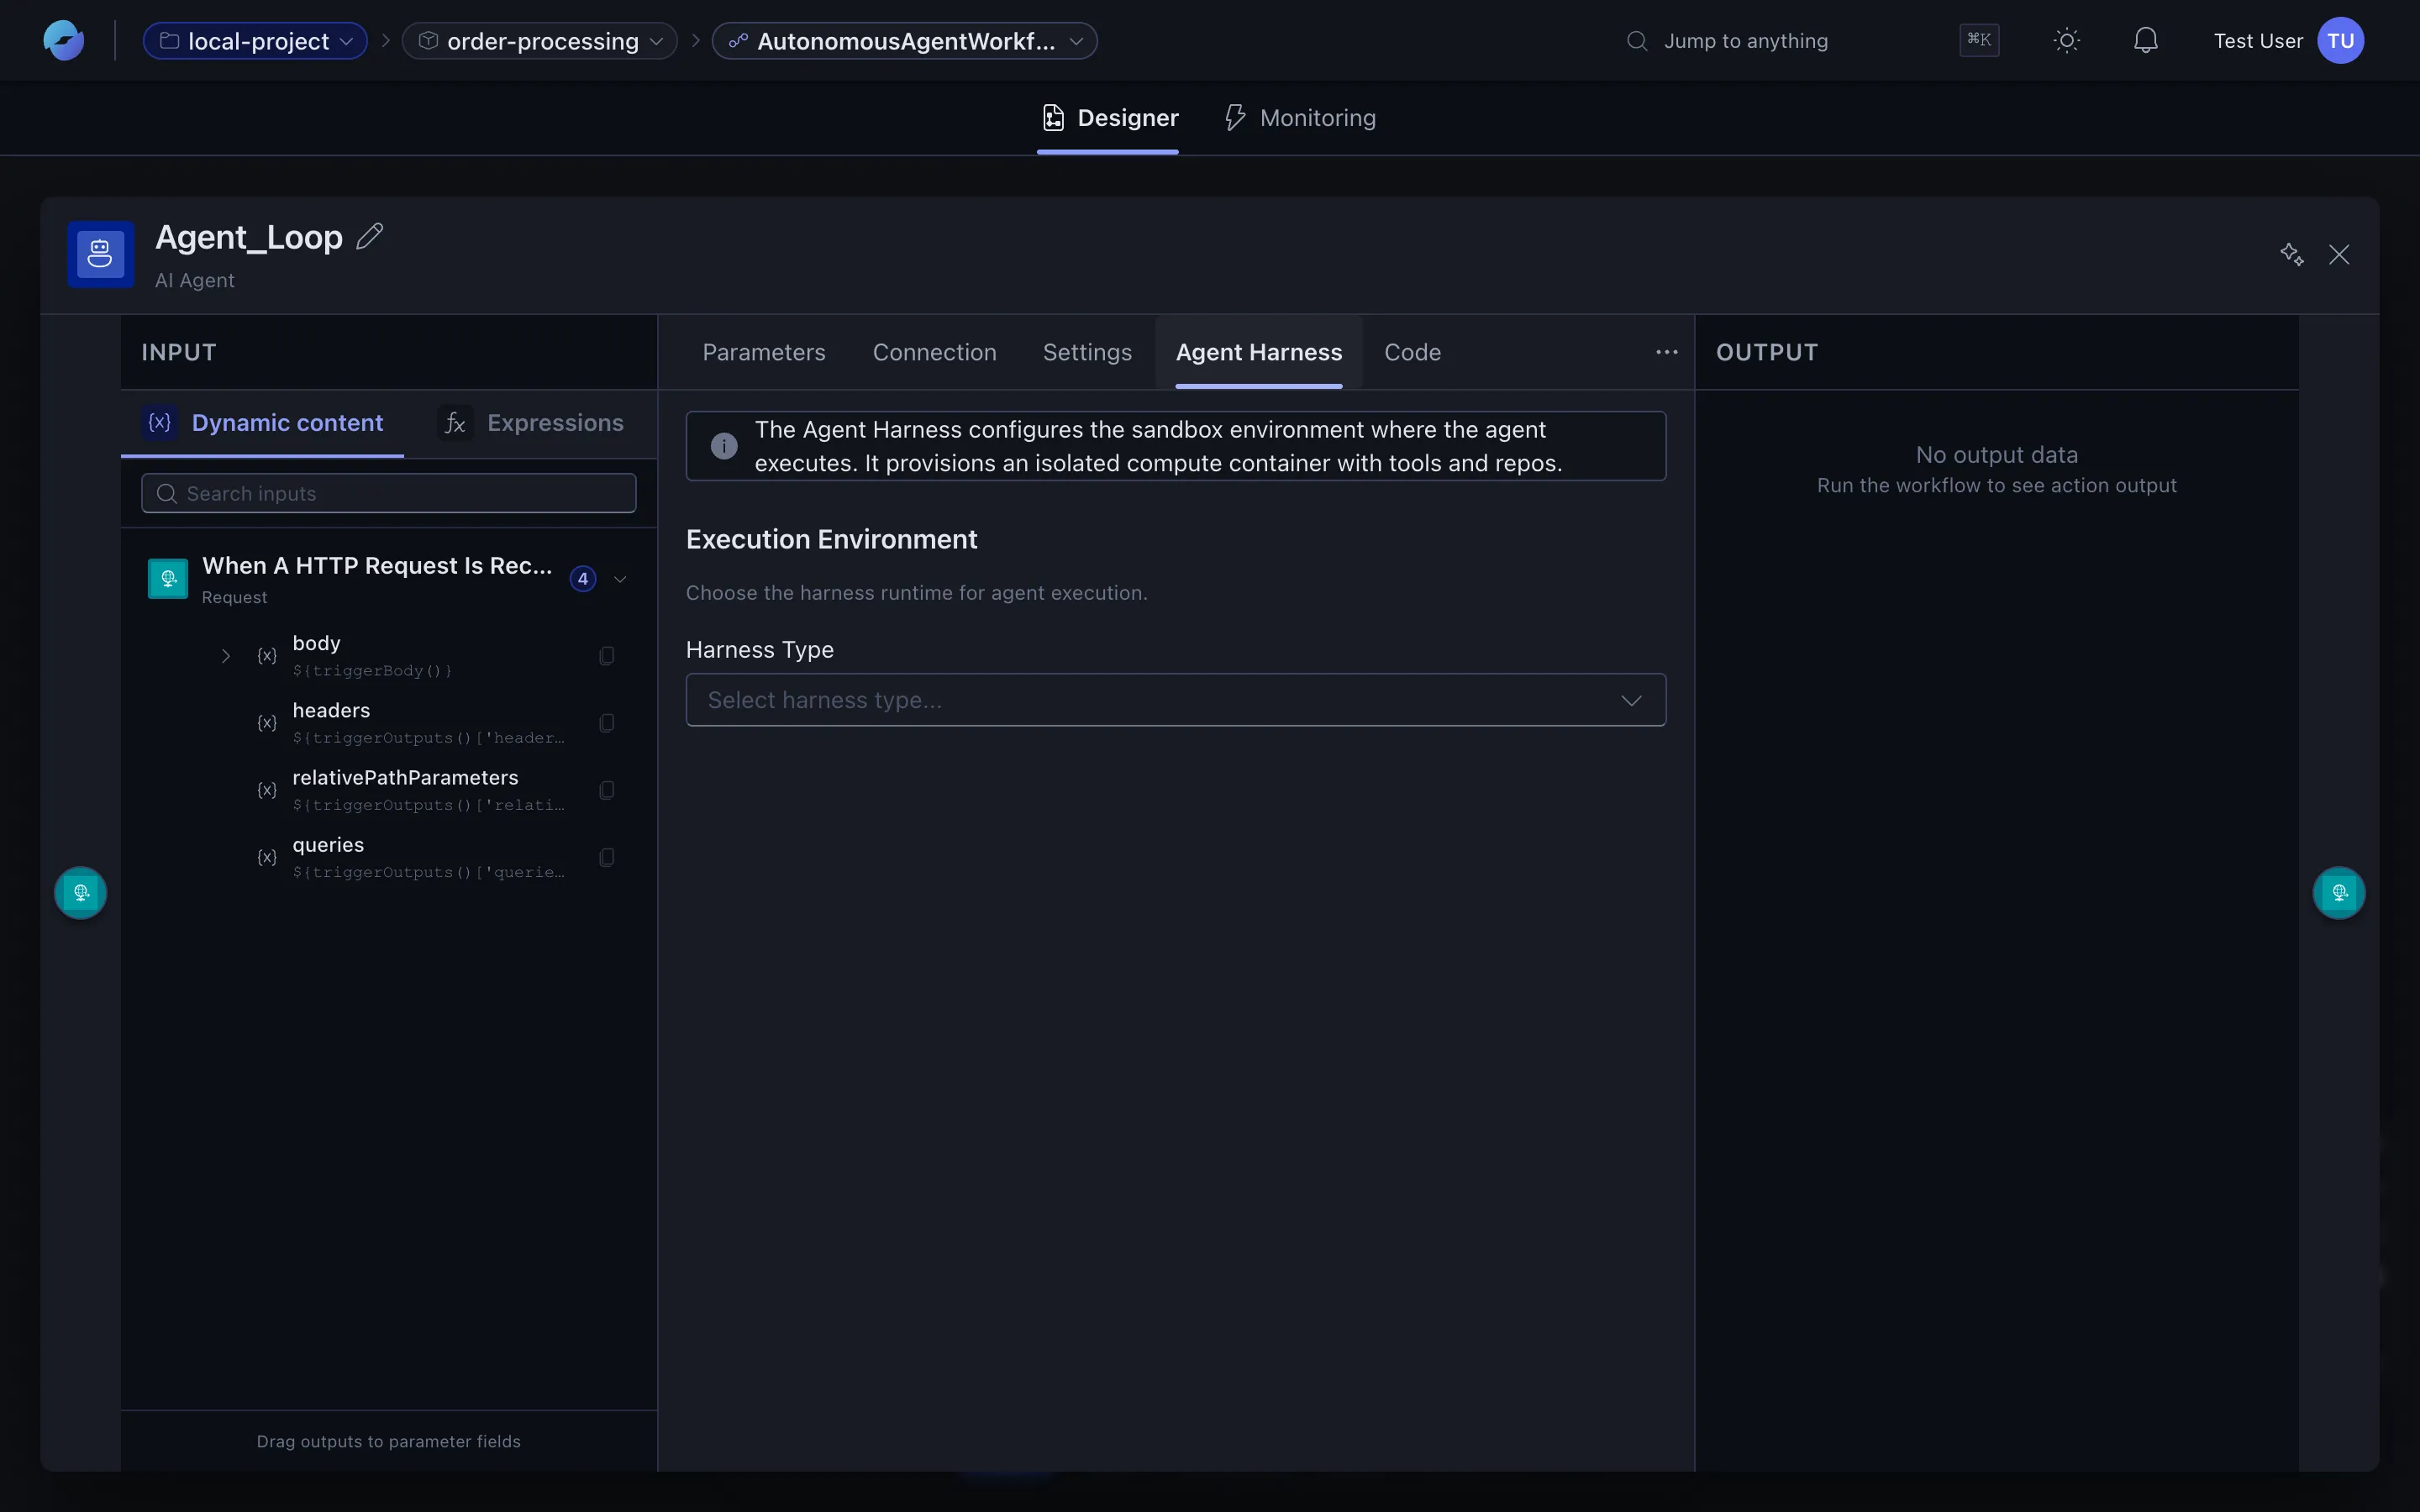
Pick the Harness Type that matches your need:

Step 3 — (Optional) Pass input files to the agent
Section titled “Step 3 — (Optional) Pass input files to the agent”If you want the agent to process files produced by upstream actions, add them in the Input Files section. Drag the relevant output from a previous action into the input-files target.
Step 4 — Save and (optionally) tweak the code view
Section titled “Step 4 — Save and (optionally) tweak the code view”Click Add to save the harness settings.
If you need to send a content type that isn’t covered by the form (for example, a CSV input file), switch to the workflow’s Code view and add the field directly:
"contentType": "text/csv"That’s it — the next time the workflow runs, the agent will execute inside a fresh sandbox.
Option 2 — Pre-baked sandbox with repos & skills
Section titled “Option 2 — Pre-baked sandbox with repos & skills”Use this path when the agent needs your codebase available. You build a pre-baked disk image once (with repos cloned and skills installed), then point the Agent Harness at it. Subsequent runs spin up instances from that image, so cold start stays low.
Supported auth modes
Section titled “Supported auth modes”| Auth | ADO | GitHub |
|---|---|---|
| PAT | ✓ | ✓ |
| Managed Identity | ✓ (give the project’s MI read access to the repo) | — |
| OAuth | — | ✓ |
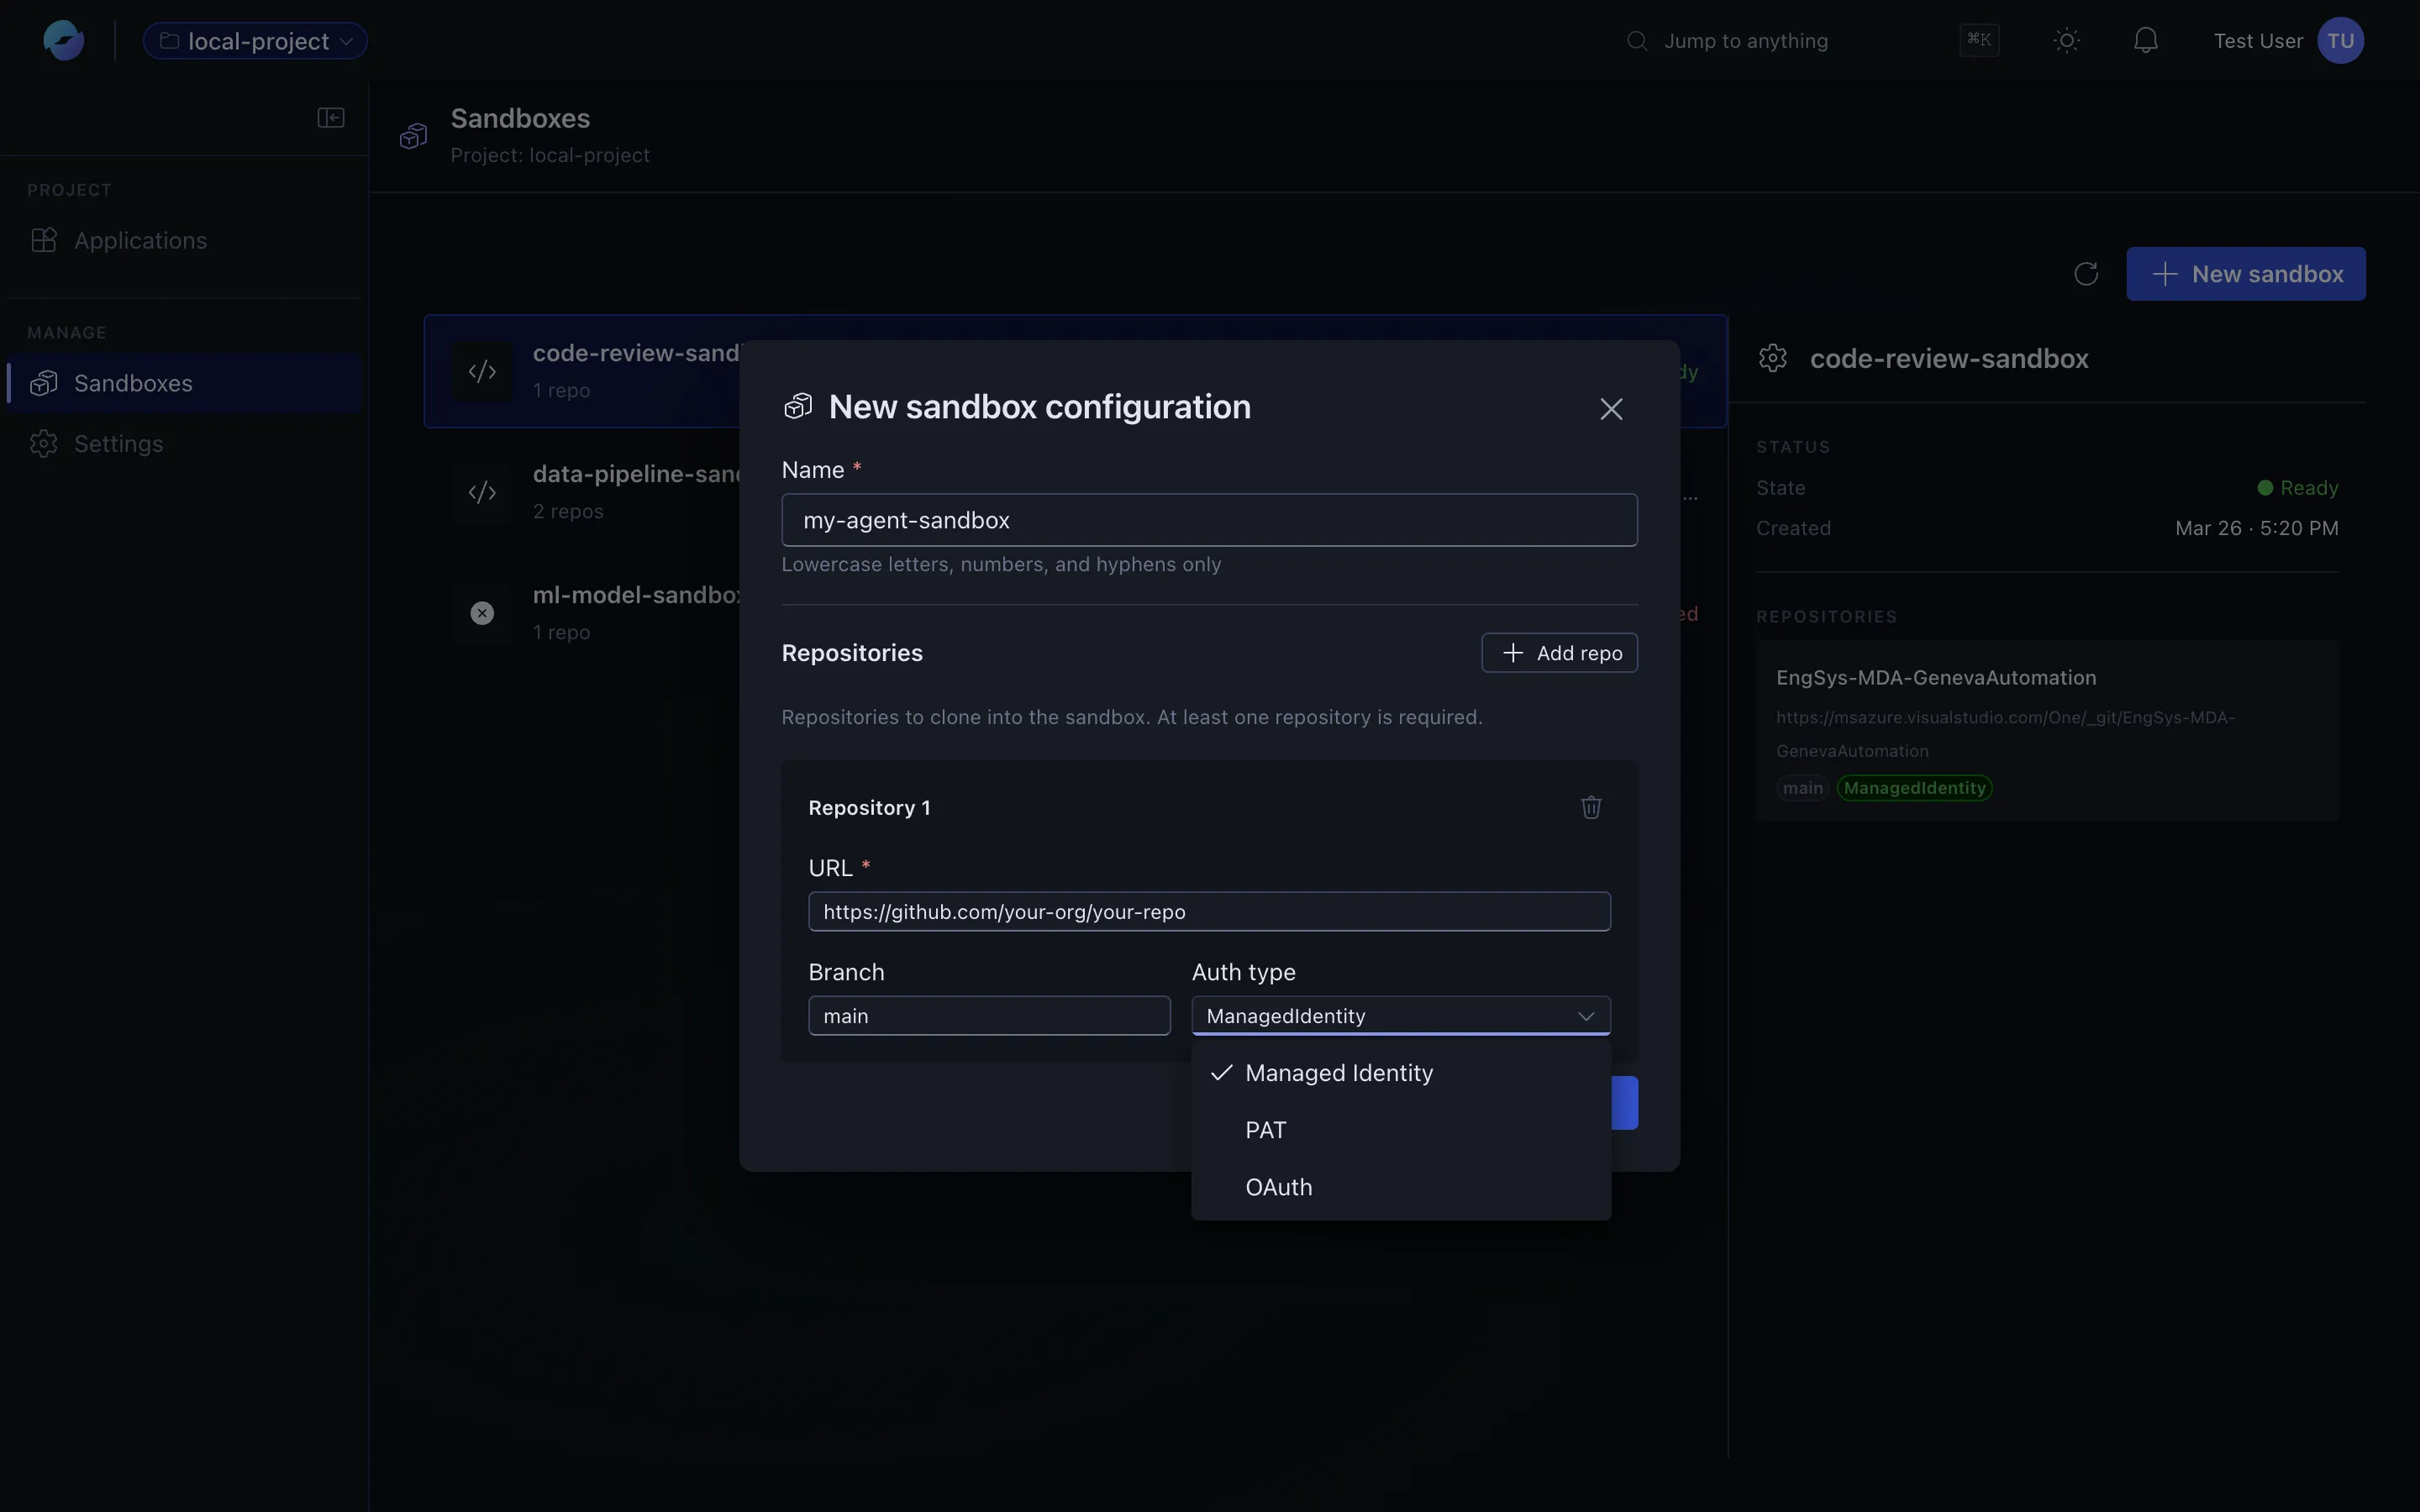
Step 1 — Create the sandbox configuration
Section titled “Step 1 — Create the sandbox configuration”In your project, open the Sandboxes tab and click New sandbox.

Fill in:
| Field | Notes |
|---|---|
| Name | Lowercase letters, numbers, and hyphens only. Workflows reference the sandbox by name. |
| Repository → URL | The ADO or GitHub HTTPS URL. |
| Repository → Branch | Branch to clone. |
| Repository → Auth type | See the matrix above. |

Click Add repo if you want to clone multiple repositories into the same sandbox.
Step 2 — Connect to GitHub (OAuth path)
Section titled “Step 2 — Connect to GitHub (OAuth path)”If you picked OAuth for a GitHub repository, you’ll need an Application resource first, then click Connect GitHub in the dialog. A GitHub authorisation window opens — pick the account that owns the repo, then Allow access to let the platform read from it.
Step 3 — Create the sandbox and wait for it to build
Section titled “Step 3 — Create the sandbox and wait for it to build”Click Create. The build kicks off and the sandbox enters a Building… state. Larger repos take longer; expect a few minutes for the first build.
When the build completes, the State turns Ready:
The detail panel on the right shows the cloned repositories and the auth mode used.
Step 4 — Wire it into the Agent Harness
Section titled “Step 4 — Wire it into the Agent Harness”Open your workflow, click the agent, and go to the Agent Harness tab (same place as in Option 1). Now also:
- Pick the Harness Type that matches your sandbox.
- Under Sandbox Configuration, select the sandbox you created in step 1.
- (Optional) Add skills paths by clicking Repository skills and pointing at the directories inside the cloned repo where your skills live.
Click Add to save, and run the workflow.
Troubleshooting
Section titled “Troubleshooting”| Problem | Try |
|---|---|
| Sandbox stuck in Building… | Refresh the list. If it stays building >10 min for a small repo, check the repo URL and credentials. |
| Sandbox state shows Failed | Open the detail panel for the error message. Common causes: bad URL, expired PAT, MI lacks read access. |
| Agent Harness tab is missing from the agent node | Confirm the agent node is selected (not a different action). The tab only appears for agent actions. |
| Input file isn’t reaching the agent | Verify the file is .txt or .md in private preview, and that the contentType is set in the code view if needed. |
| GitHub OAuth dialog never finishes | Open the dialog again, confirm you allowed access at the account level, and that the repo belongs to that account. |
What’s next
Section titled “What’s next”- Agents — how the agent action and tool loop work.
- AI workflow assistant — ask the assistant to design a workflow that uses an agent with a sandbox.
- Runs and monitoring — inspect what the agent did inside the sandbox via per-action outputs.