Quickstart
This page walks the whole loop: open an app, create a workflow, save it as a draft, run it, and inspect what happened. Use it as a template and swap in whatever you actually want to automate.
1. Open an application
Section titled “1. Open an application”From your project’s Applications tab, click an app. The app shell opens with five sections in the left rail — Workflows, Connections, Parameters, Analytics, and Settings.
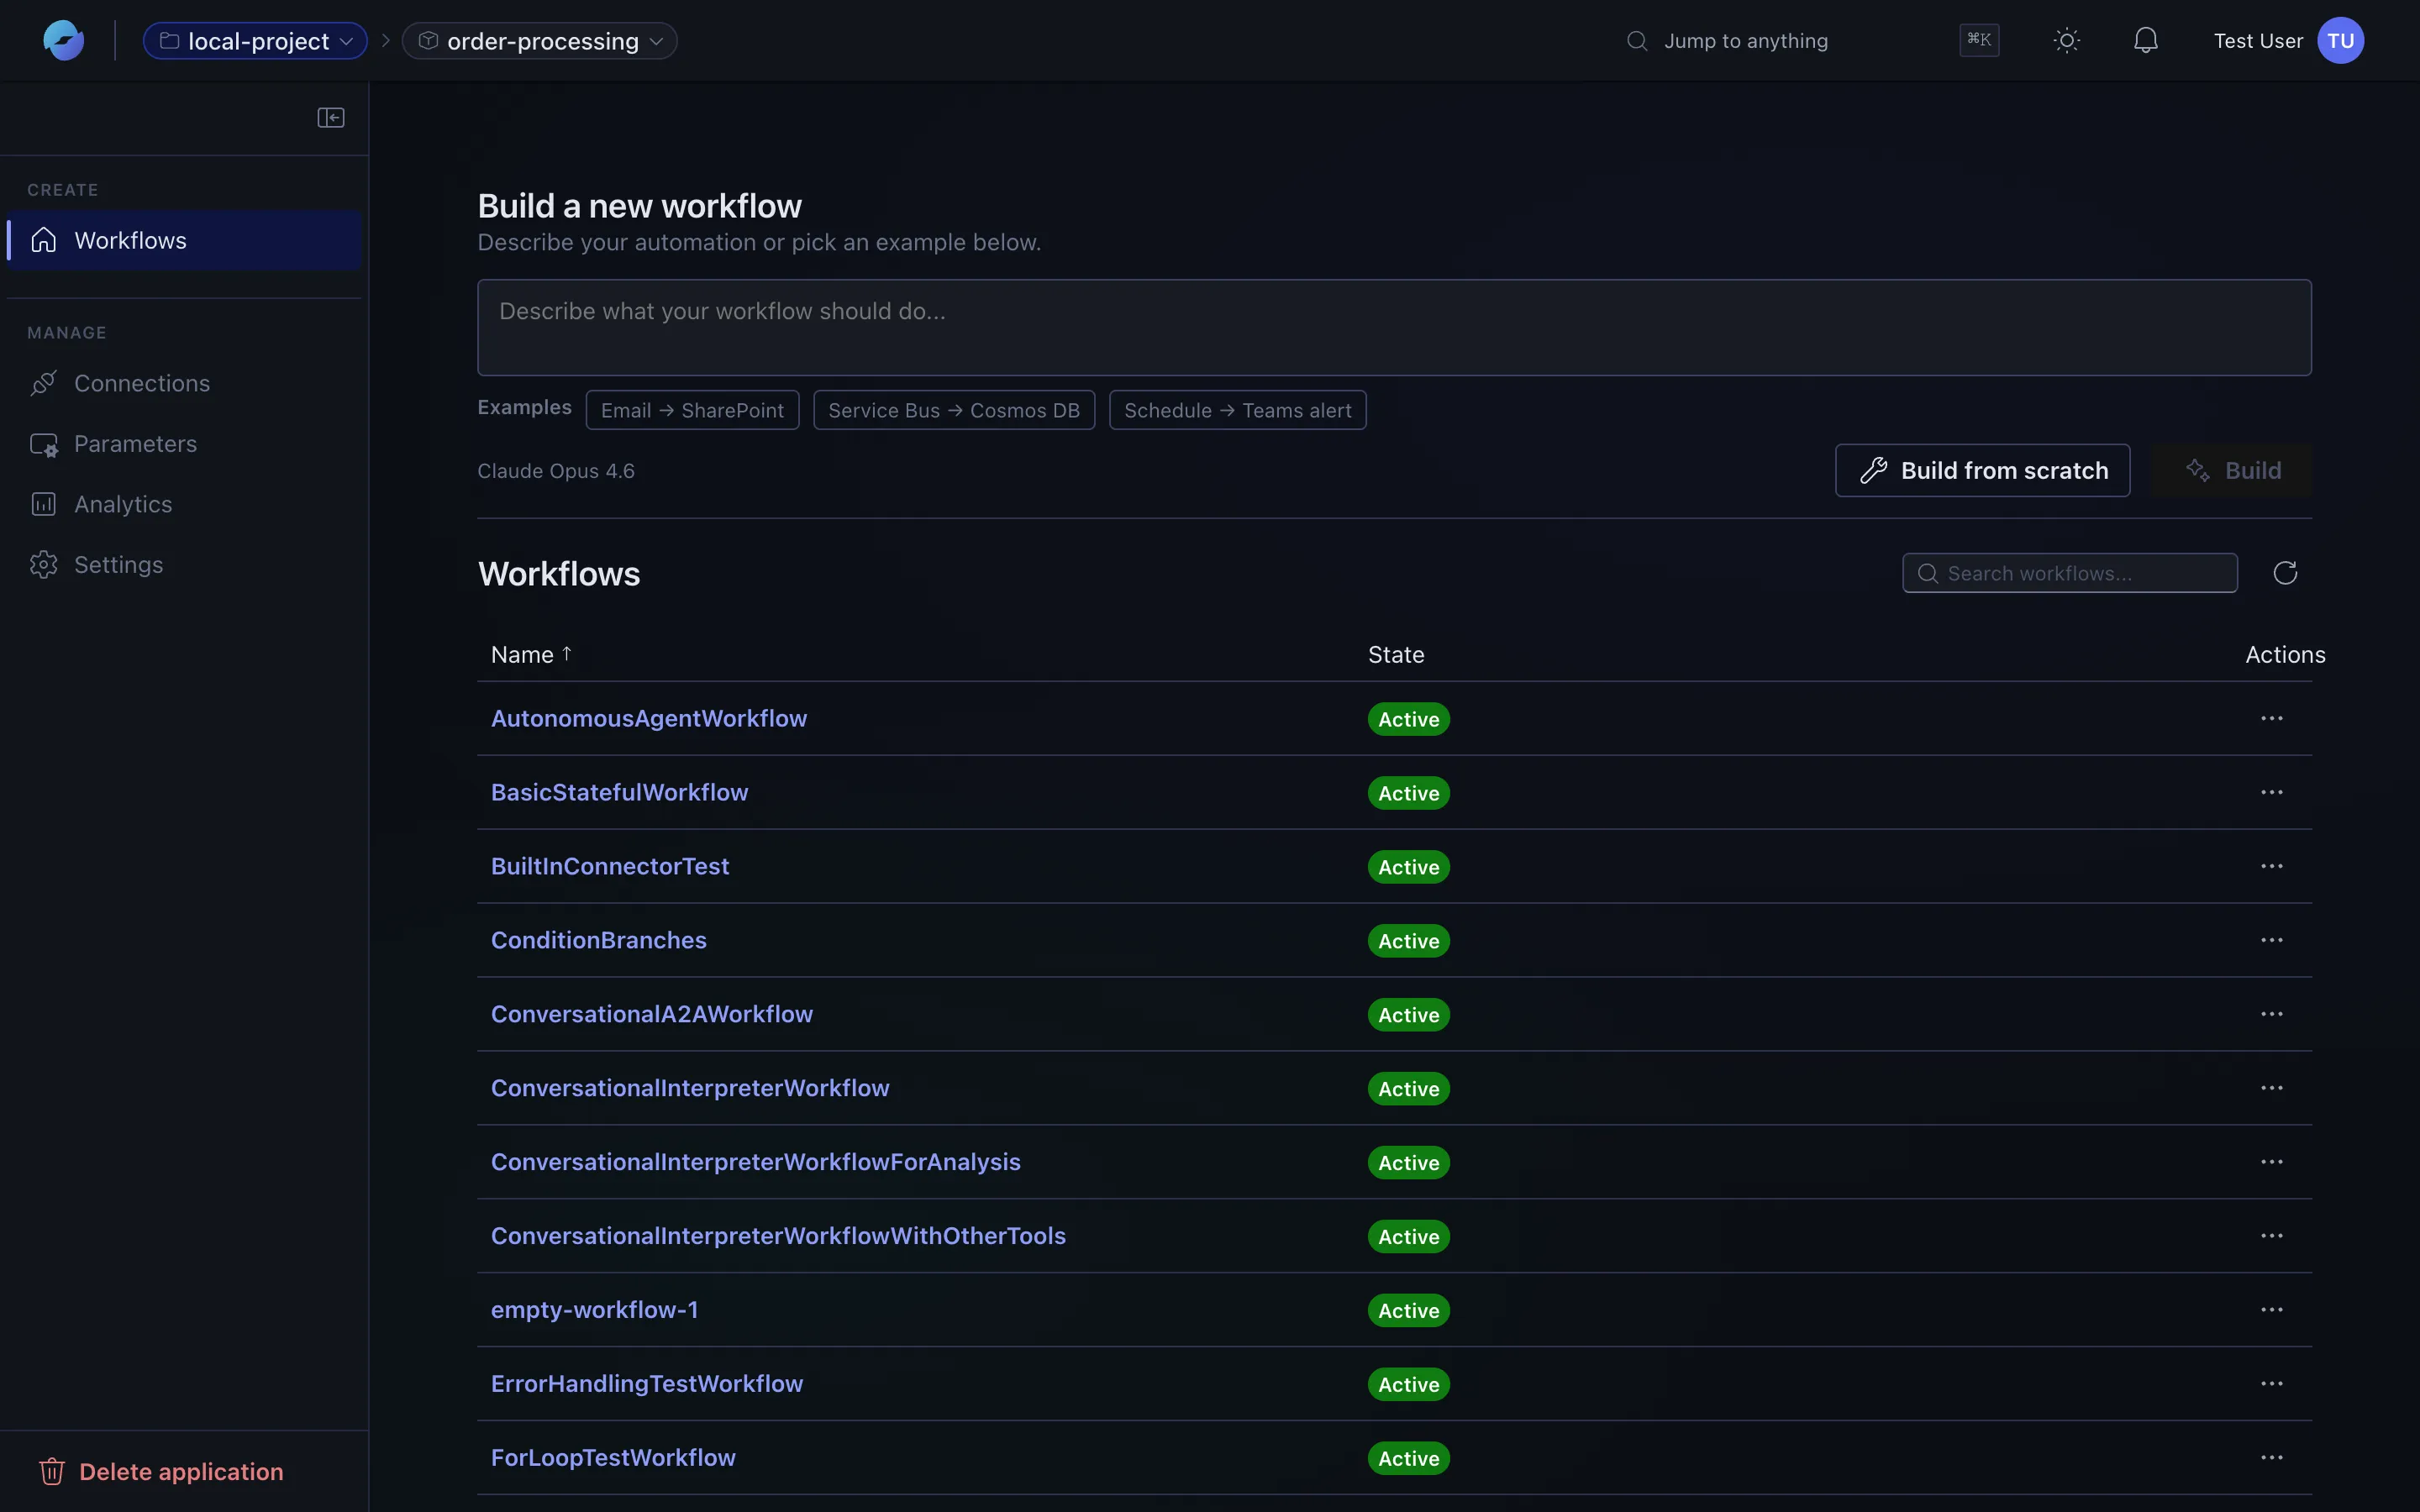
The Workflows tab is your default view: a workflow builder at the top and the list of existing workflows below.
2. Pick a path: assistant or scratch
Section titled “2. Pick a path: assistant or scratch”You have two ways to start a workflow.
Use the assistant. Type what you want into the “Describe what your workflow should do…” box. The assistant generates the workflow and drops you onto the canvas.

Build from scratch. Click Build from scratch to start with a blank canvas. The dialog asks for a workflow name:
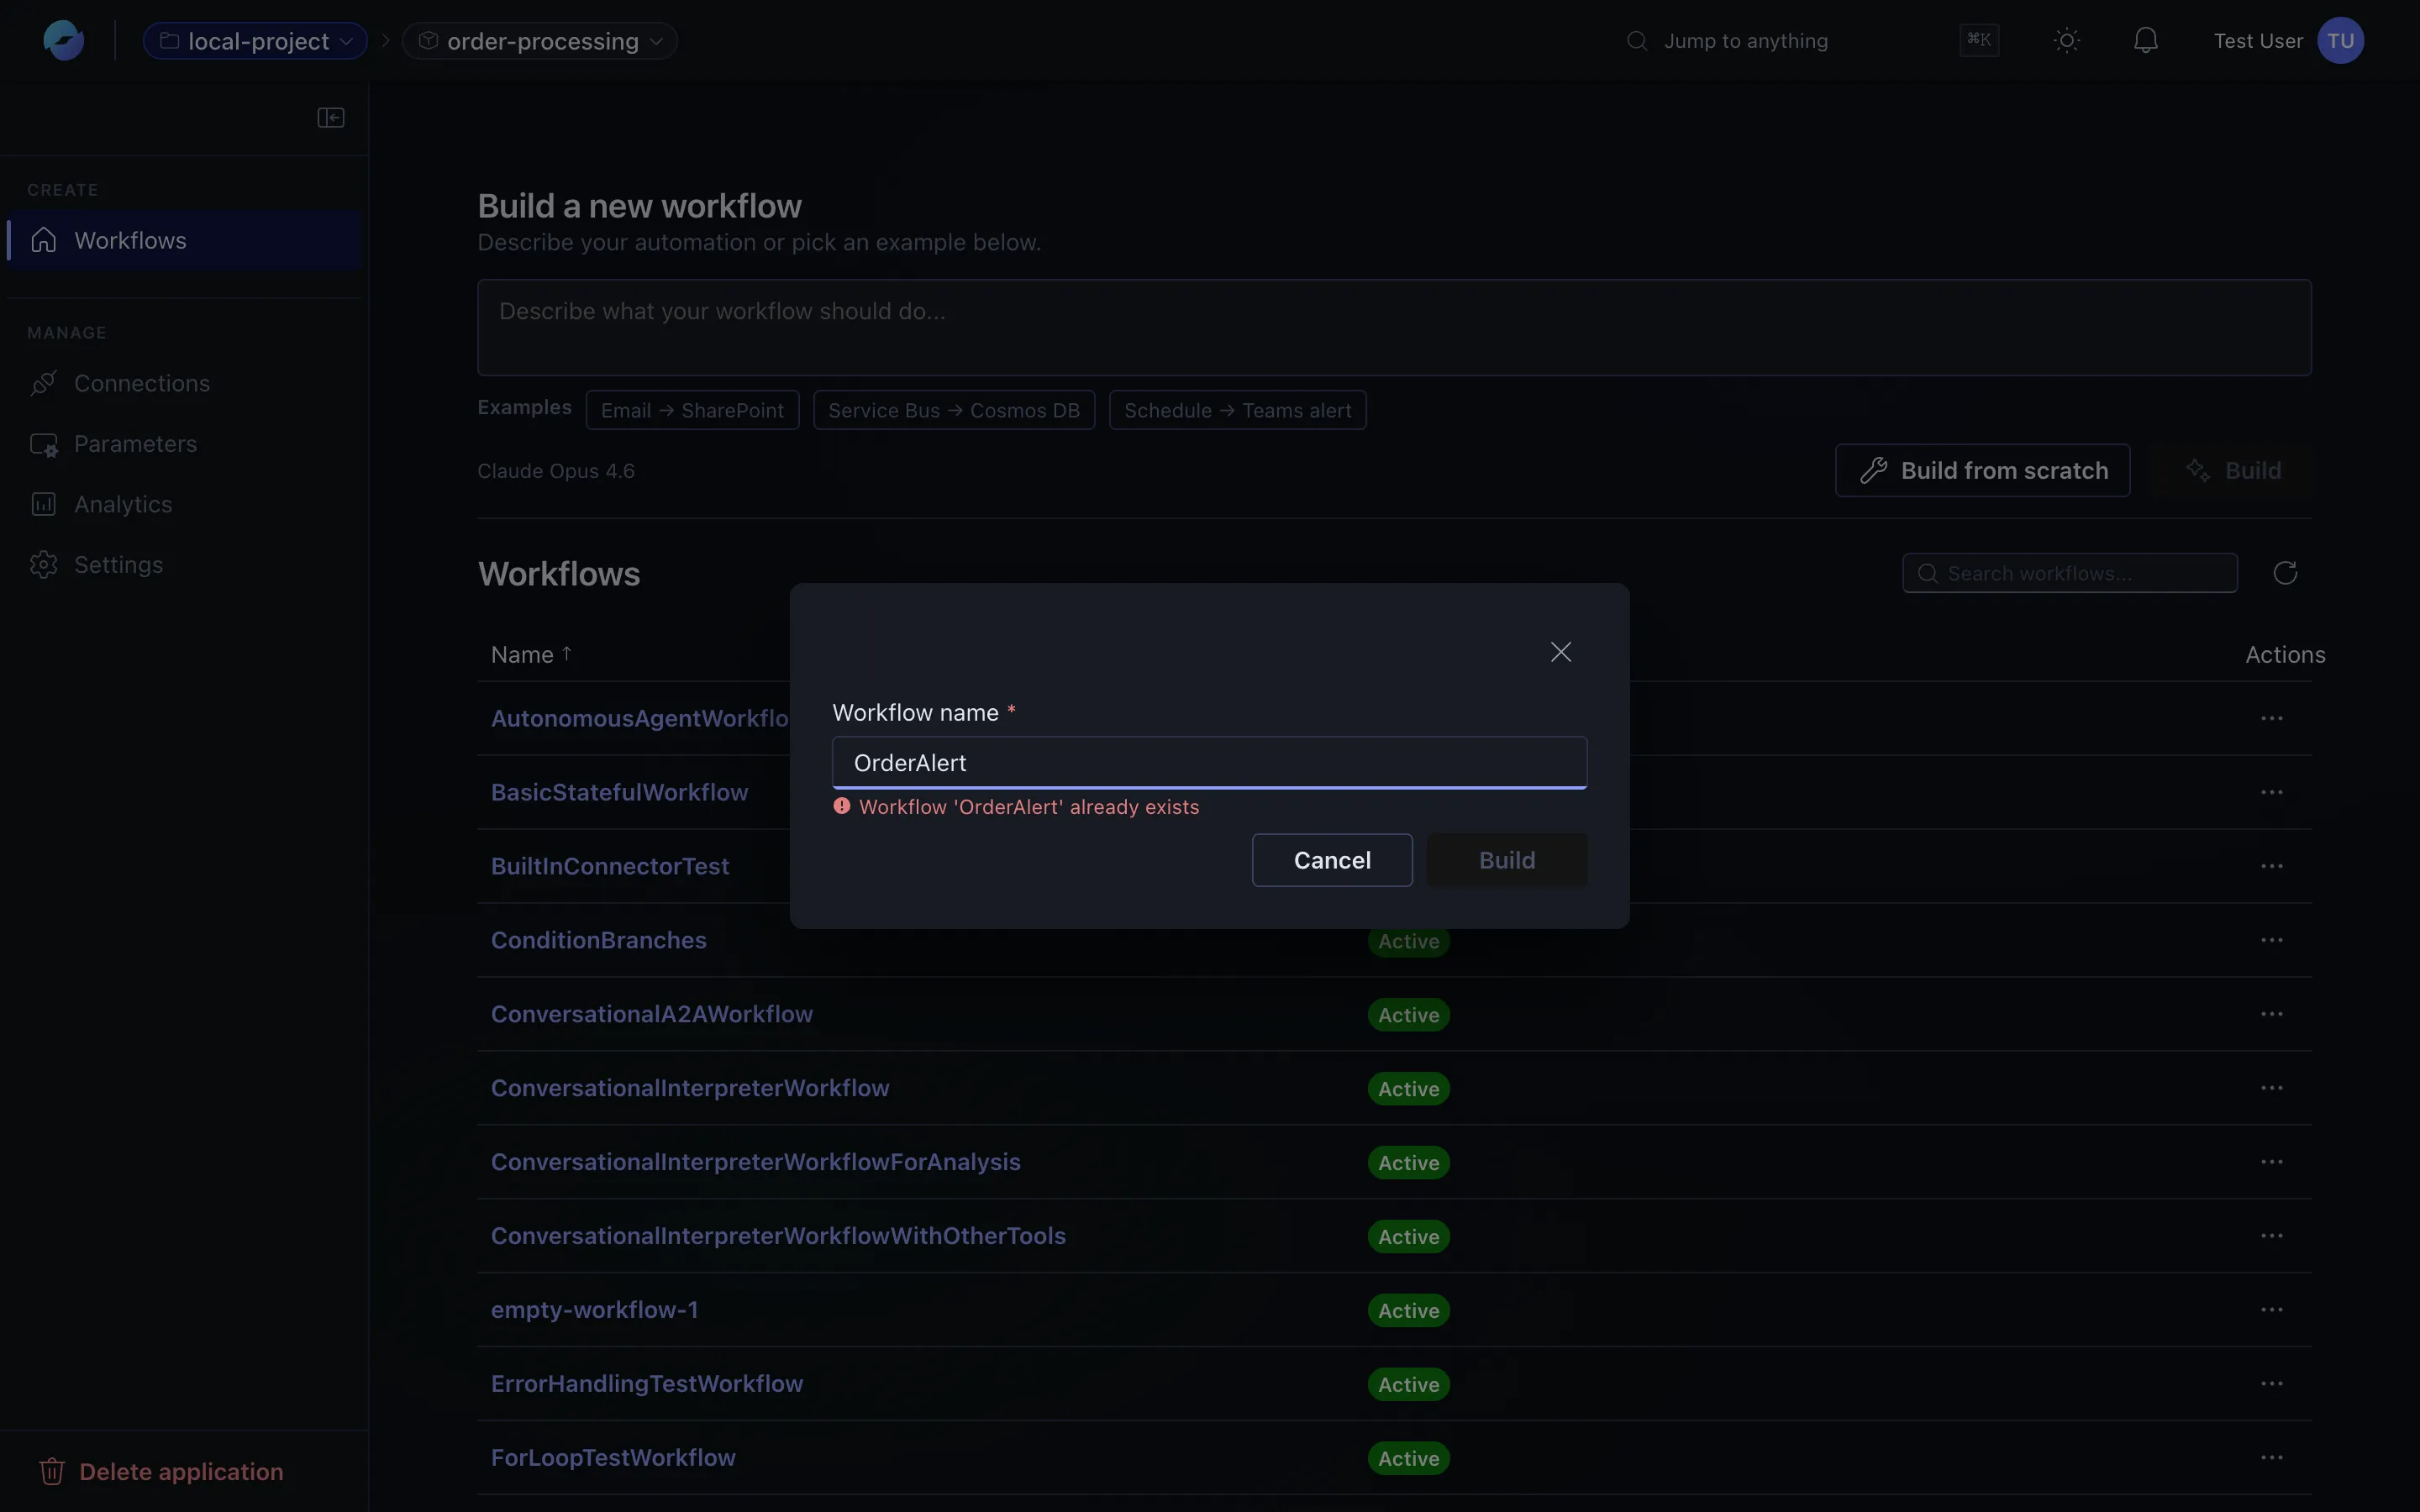
Either path lands you in the designer. The rest of this page uses build from scratch so every step is visible.
3. Add a trigger
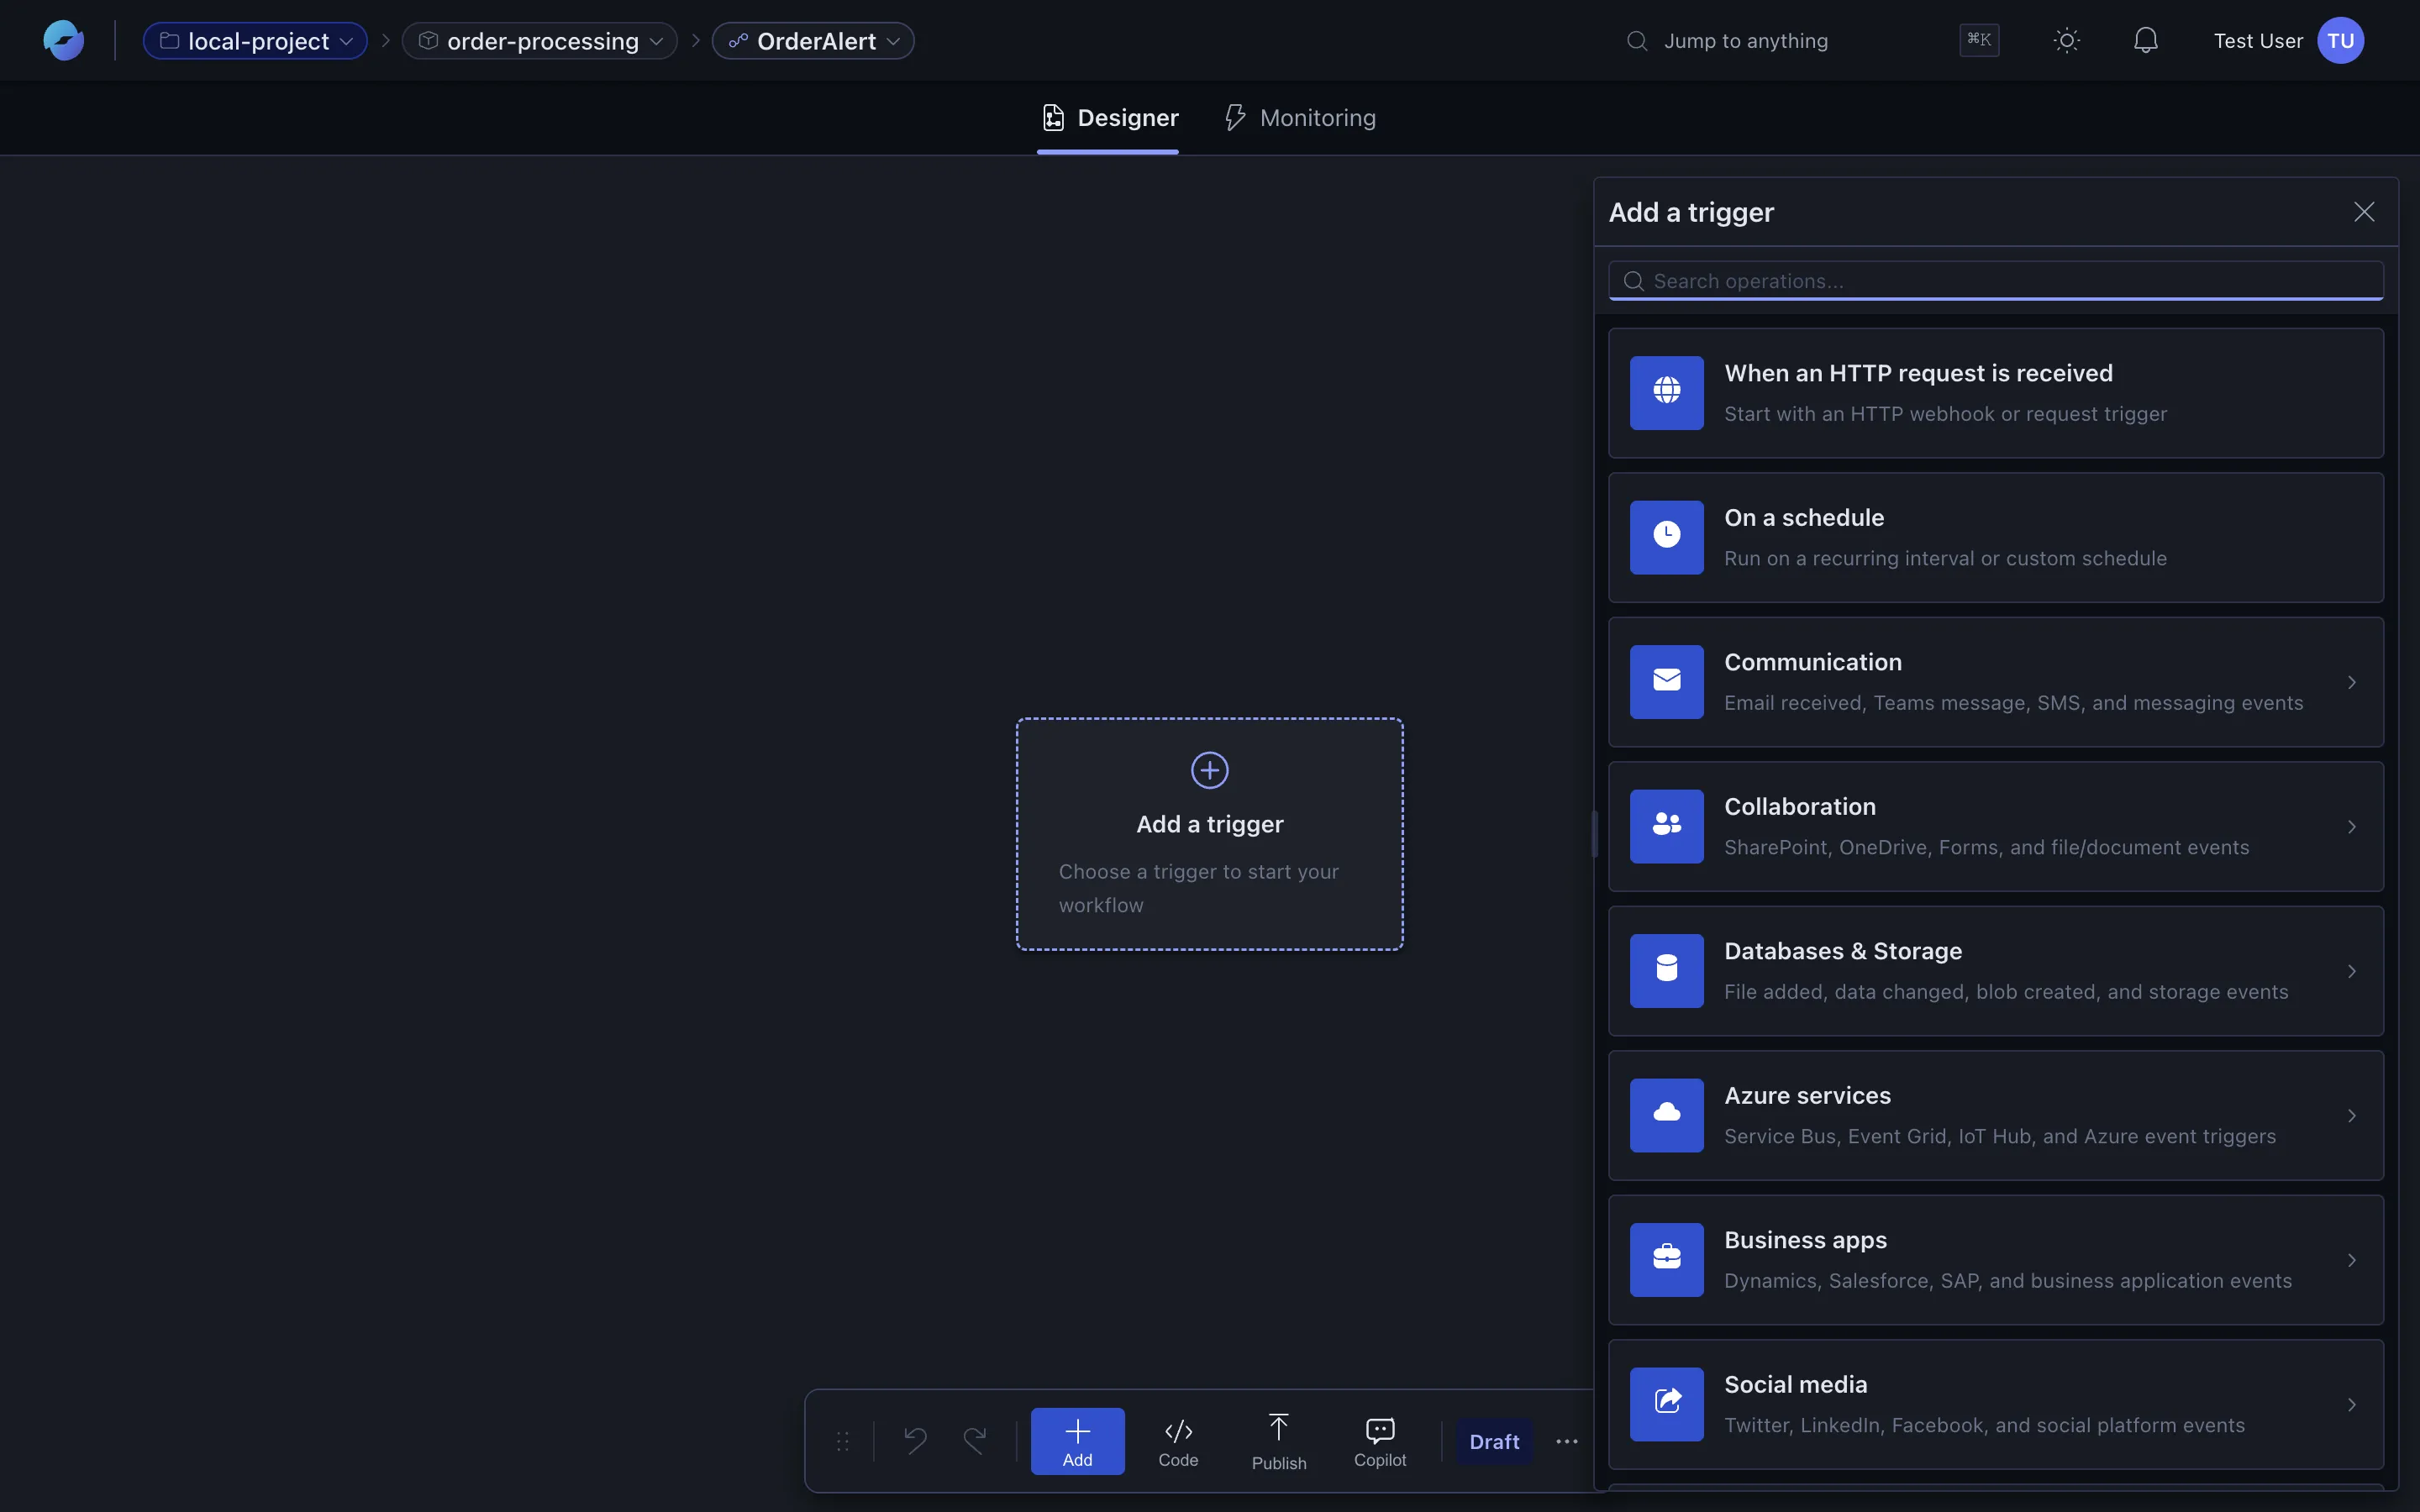
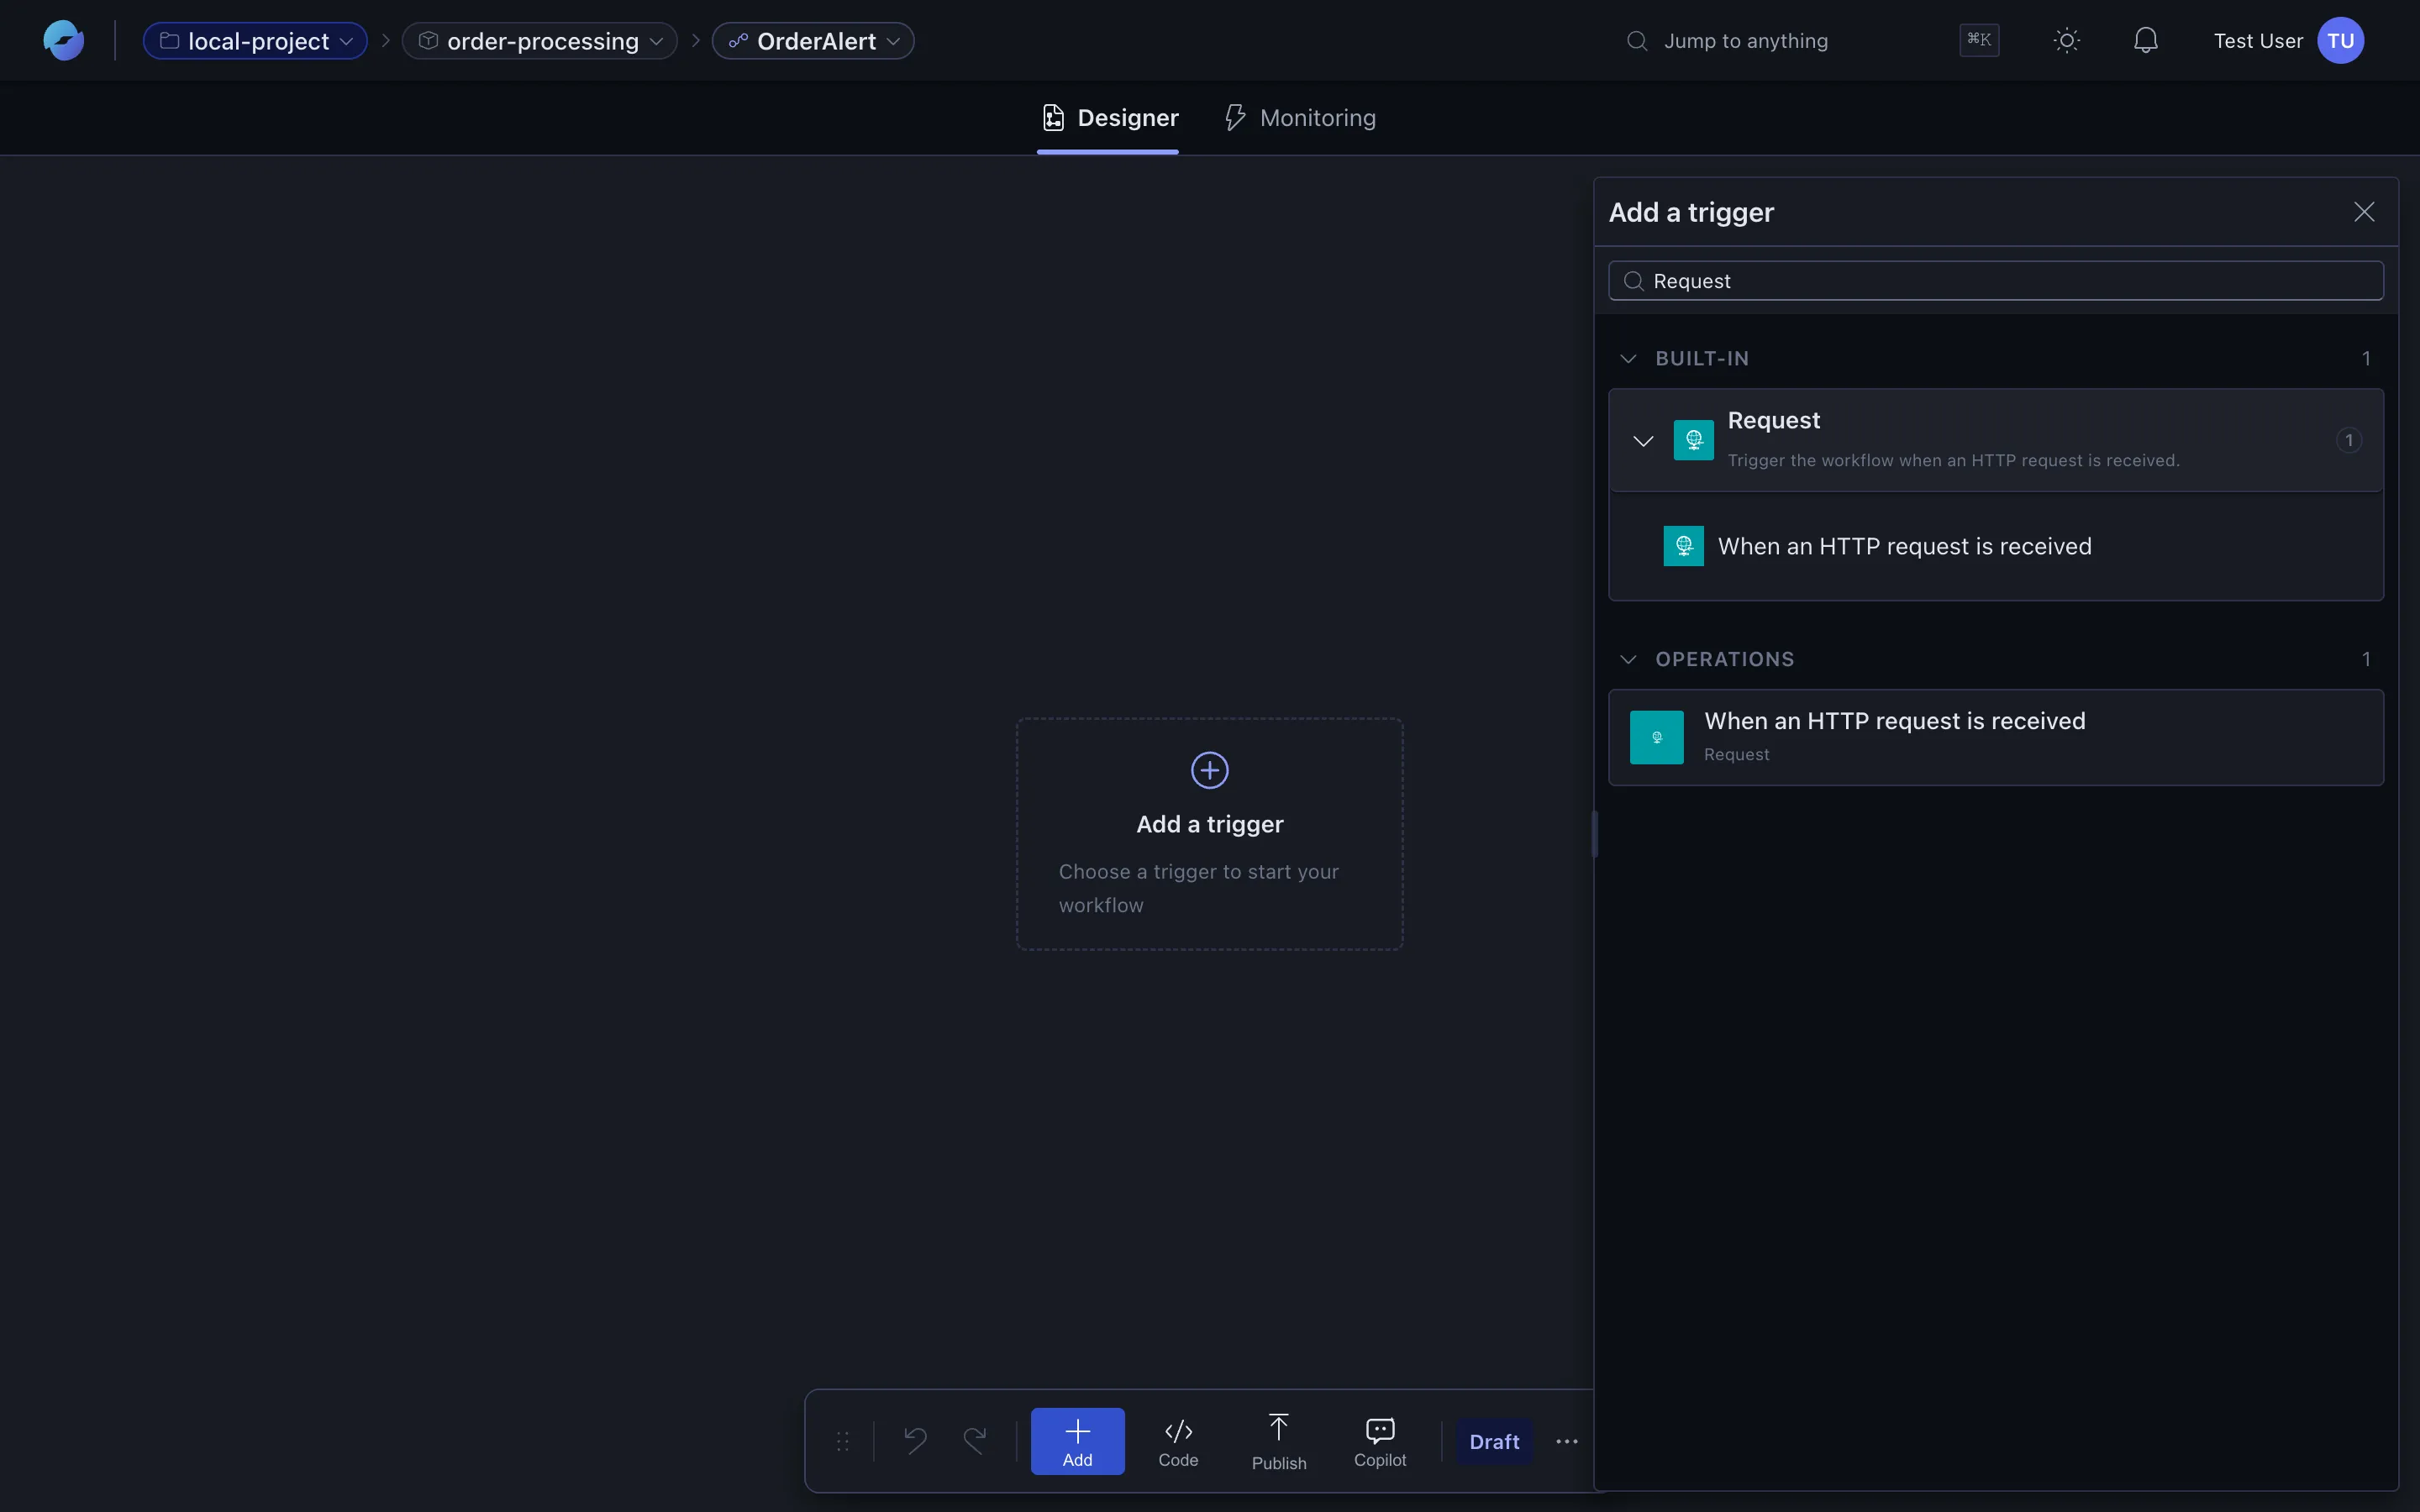
Section titled “3. Add a trigger”Every workflow starts with a trigger. The empty canvas shows an Add a trigger placeholder:

Click it to open the picker:
Search for the integration you want — Request for an HTTP webhook trigger, Schedule for recurrence, or any connector that exposes triggers.
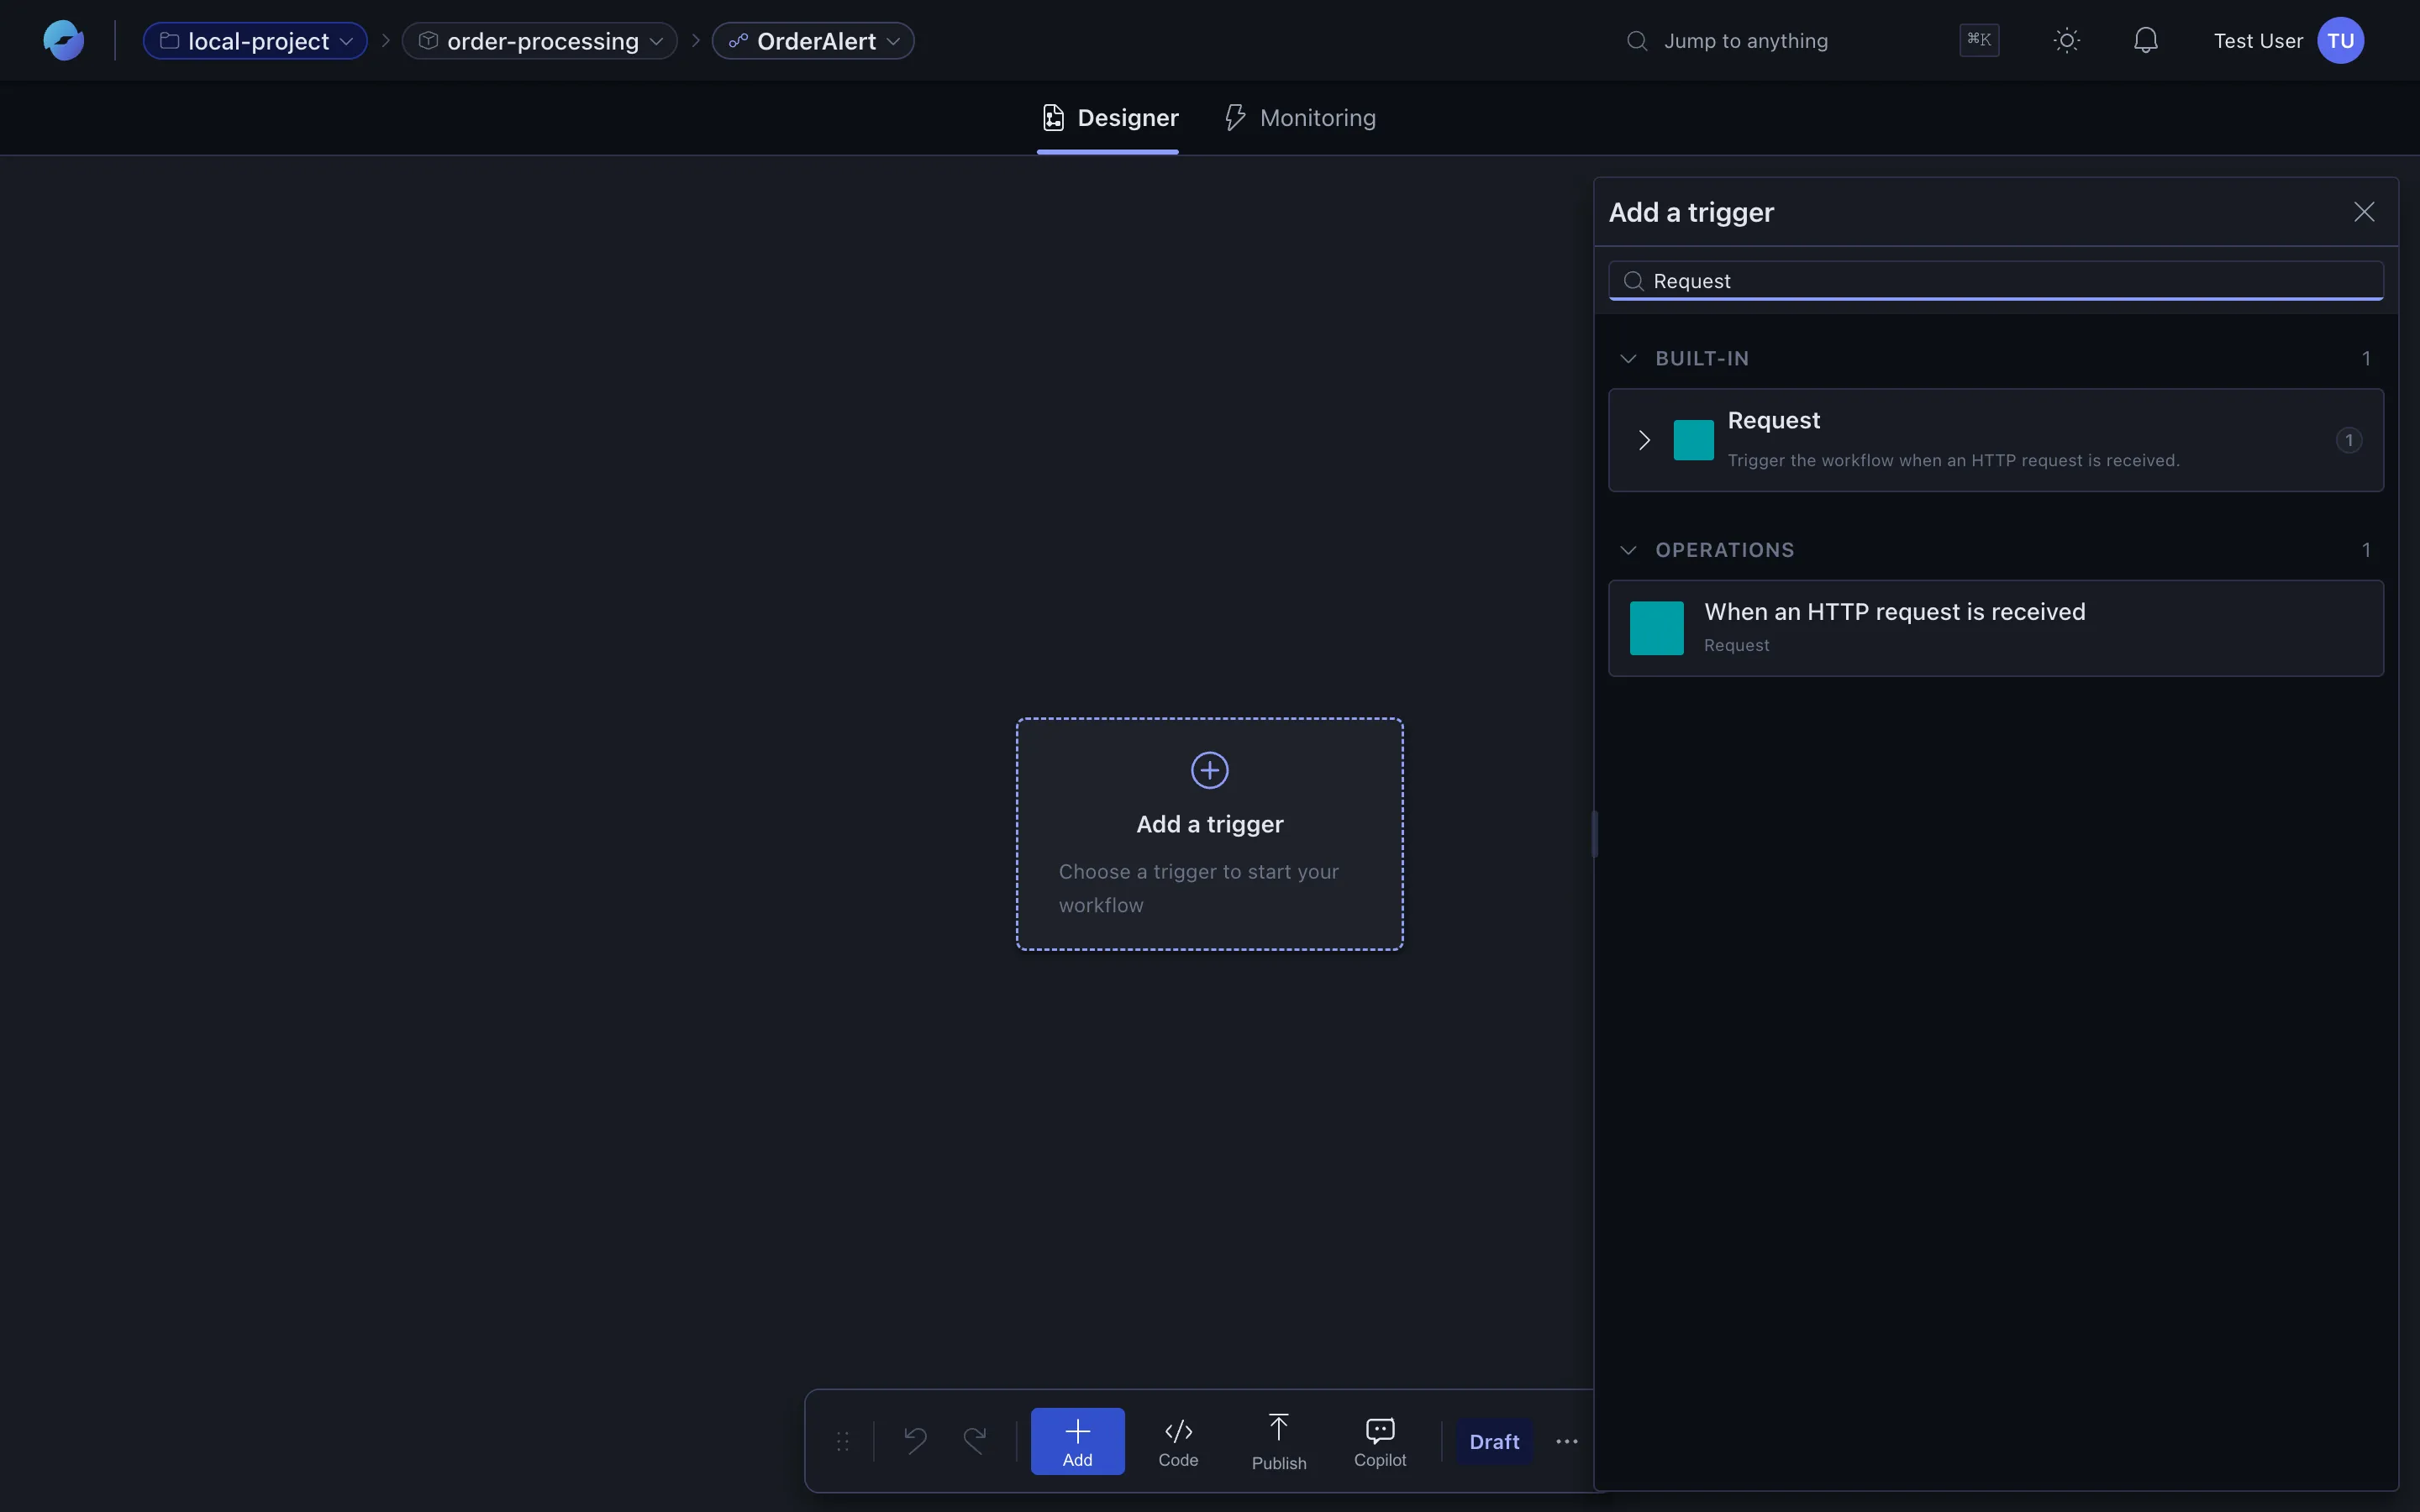
Select an operation (for example, When an HTTP request is received) to add it to the canvas:
4. Add actions
Section titled “4. Add actions”Click the + between (or after) nodes to add the next step. Pick a connector or built-in action, fill in its parameters, and continue. Compose-style branching shows up automatically when actions can run in parallel.
A complete workflow with parallel branches and a final response looks like this:
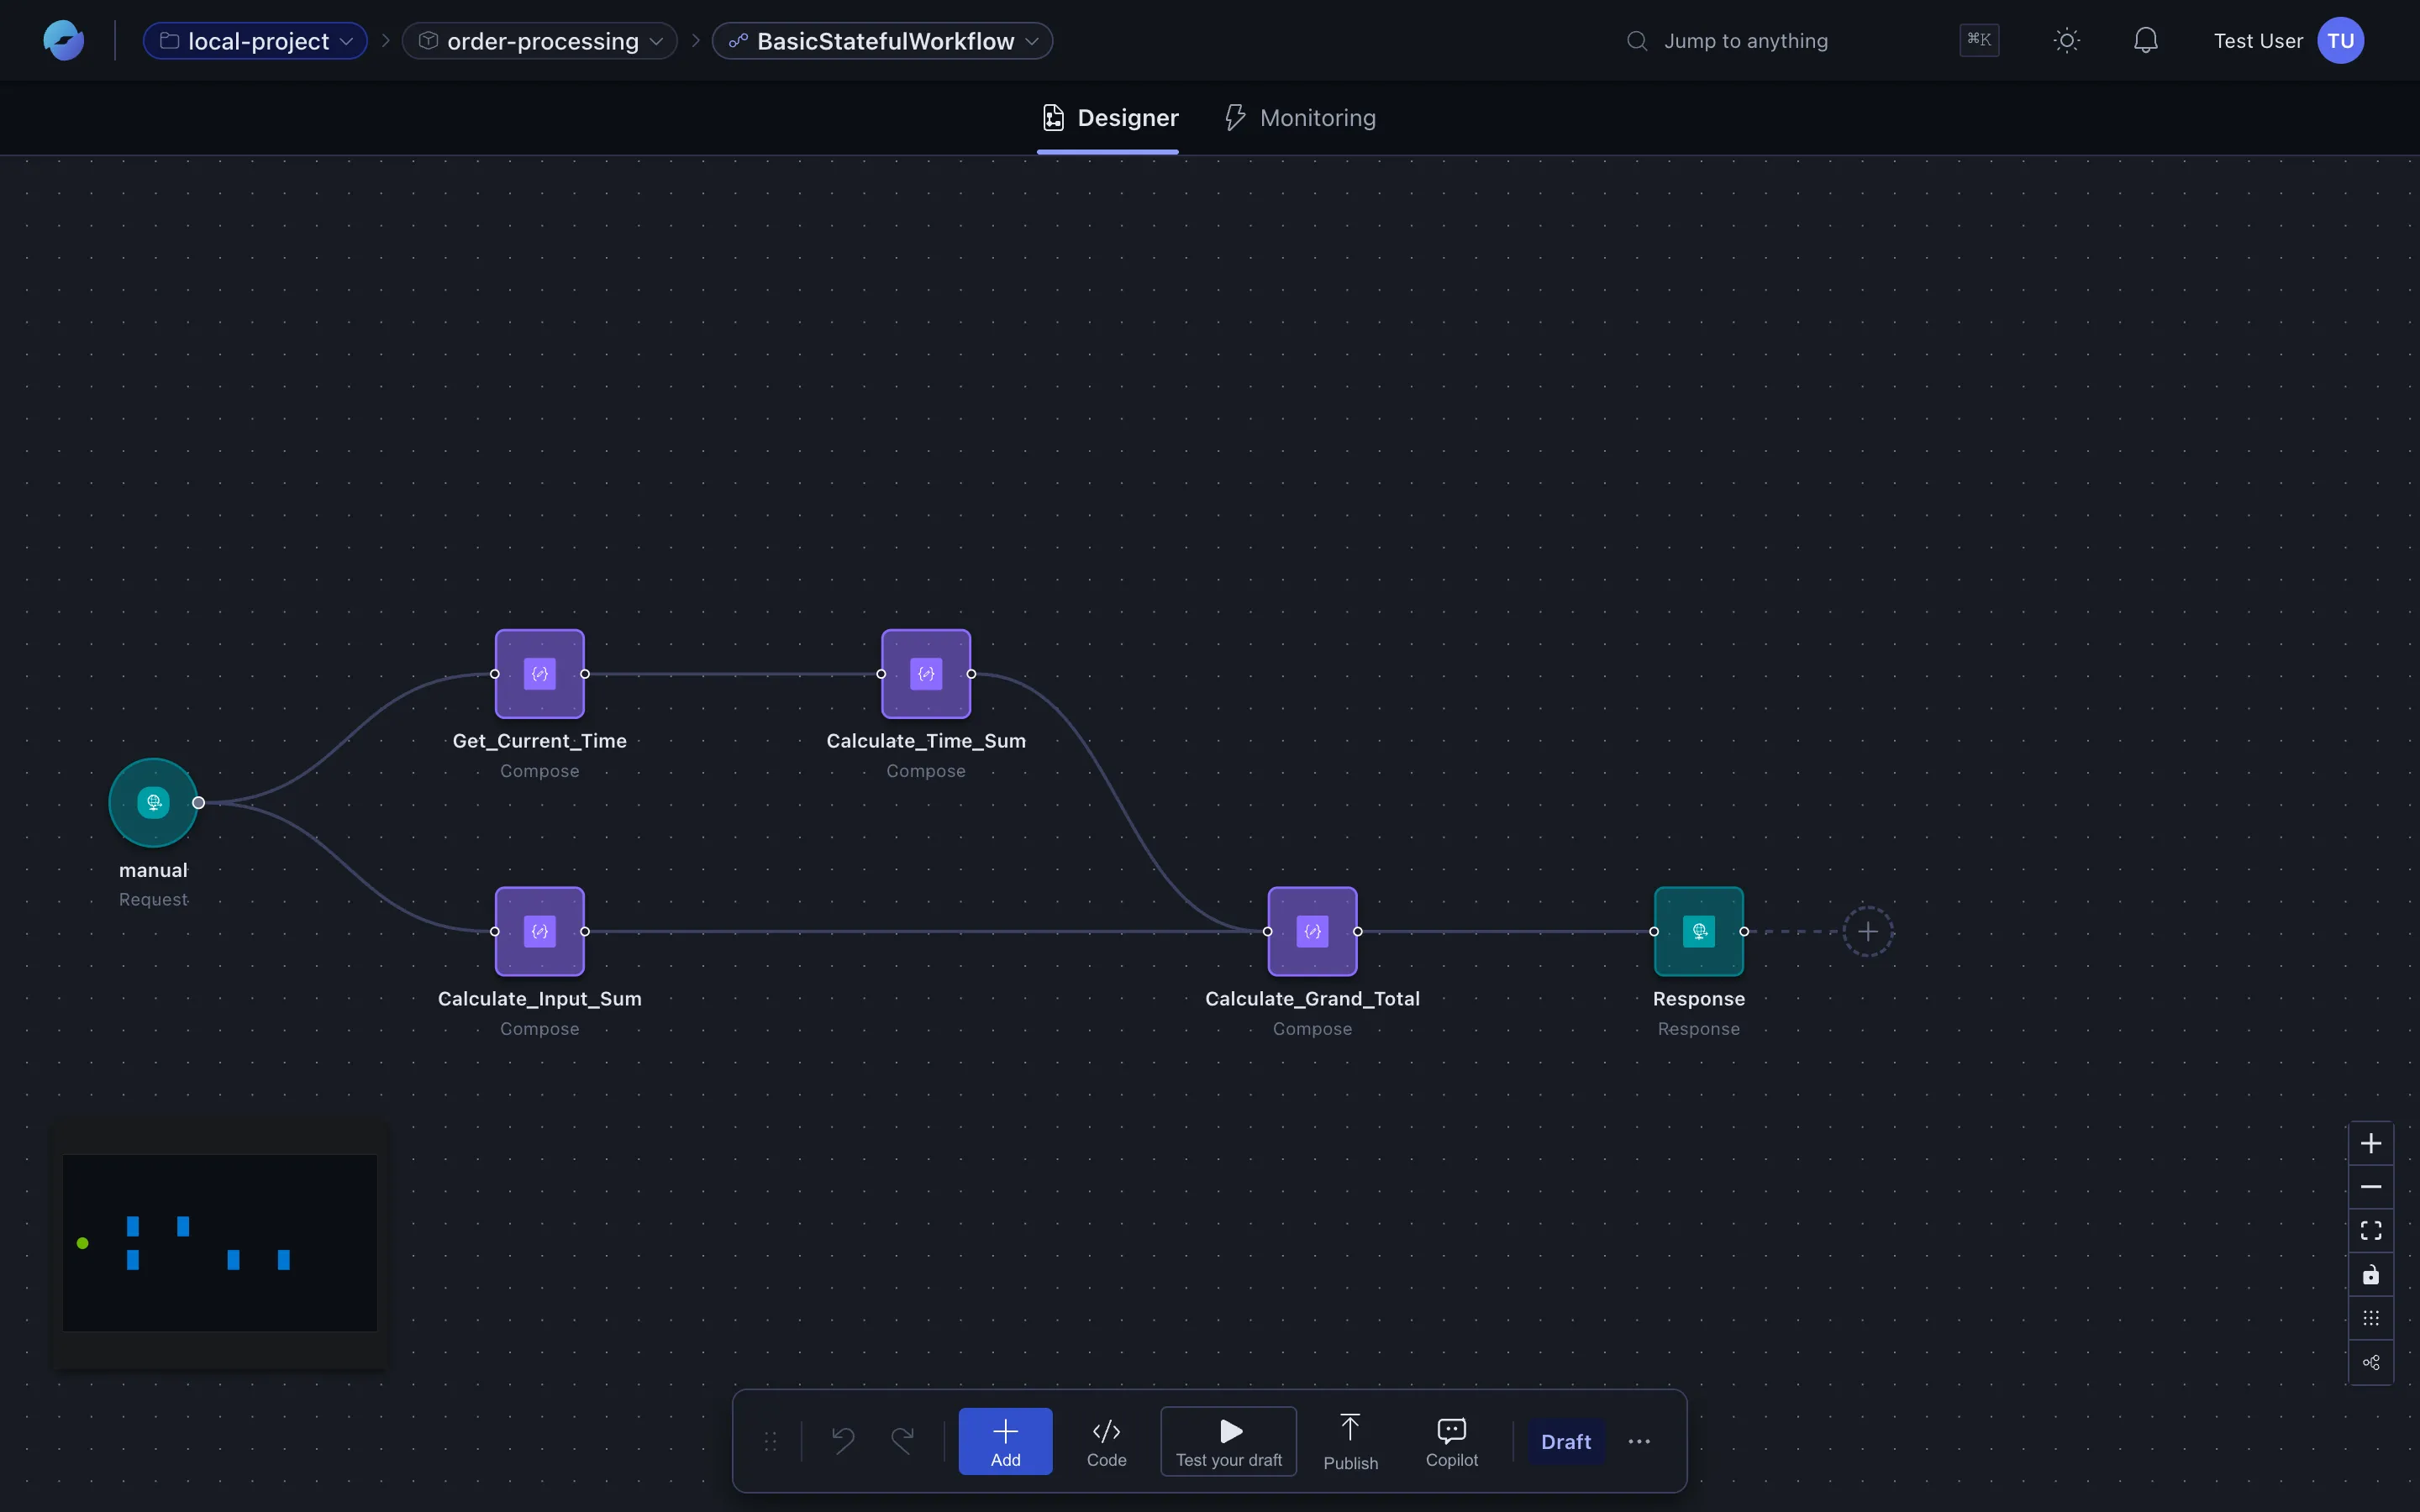
The bottom toolbar gives you canvas-wide controls:
- Add — quick-add a node anywhere on the canvas.
- Code — open the raw JSON view side-by-side with the canvas (next section).
- Test your draft — run the workflow with a test payload without publishing.
- Copilot — open the assistant in the designer to iterate on the workflow.
- Draft — the indicator showing you’re editing the unpublished version.
5. Edit in code or with copilot
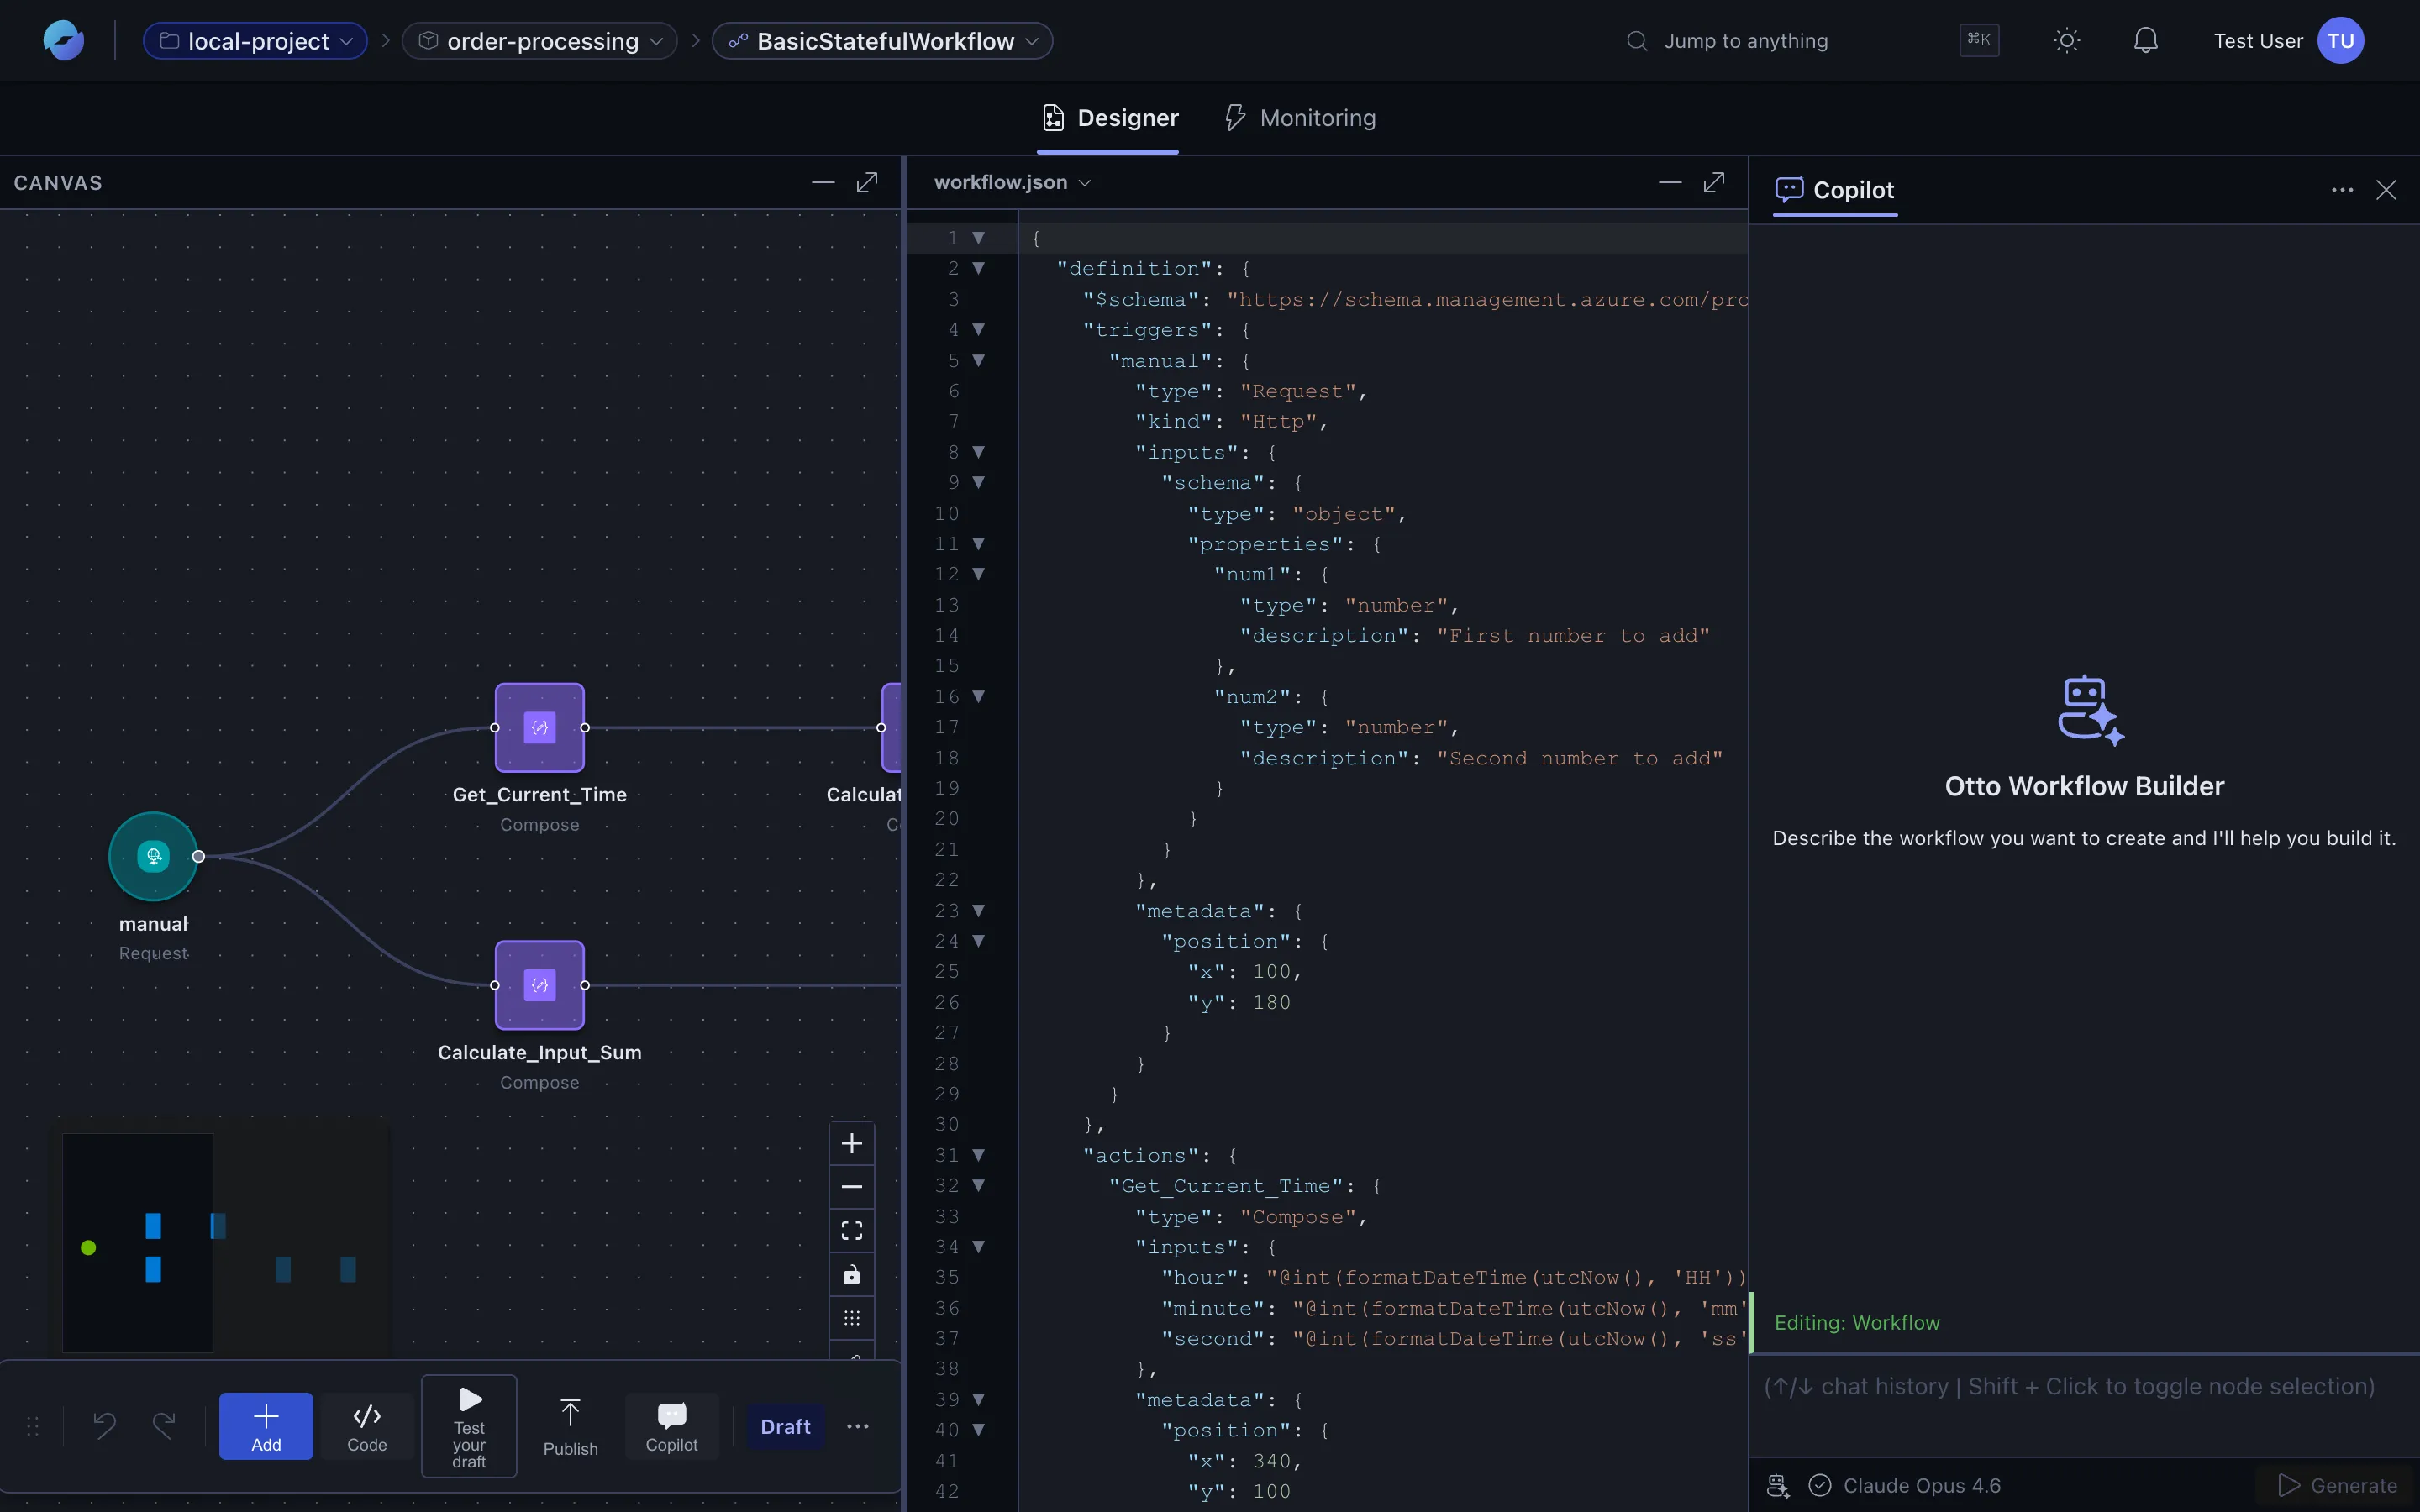
Section titled “5. Edit in code or with copilot”Switch to the code view for hand-edits. Canvas and JSON stay in sync — change either, the other updates:

Or open the assistant inside the designer to iterate on the workflow with natural language:
6. Save the draft, then publish
Section titled “6. Save the draft, then publish”Changes you make are saved to a draft of the workflow. The pill on the bottom toolbar shows the current state — Draft (unpublished changes) or Published (in sync with production). Click Publish to promote the draft.

See Draft vs published for the full mental model.
7. Run the workflow
Section titled “7. Run the workflow”Switch to the Monitoring tab. If the workflow has never run, you’ll see the empty state and a Run workflow button:

Click Run workflow to fire it manually. A test-payload dialog opens — pick the trigger and provide any JSON body the trigger needs:
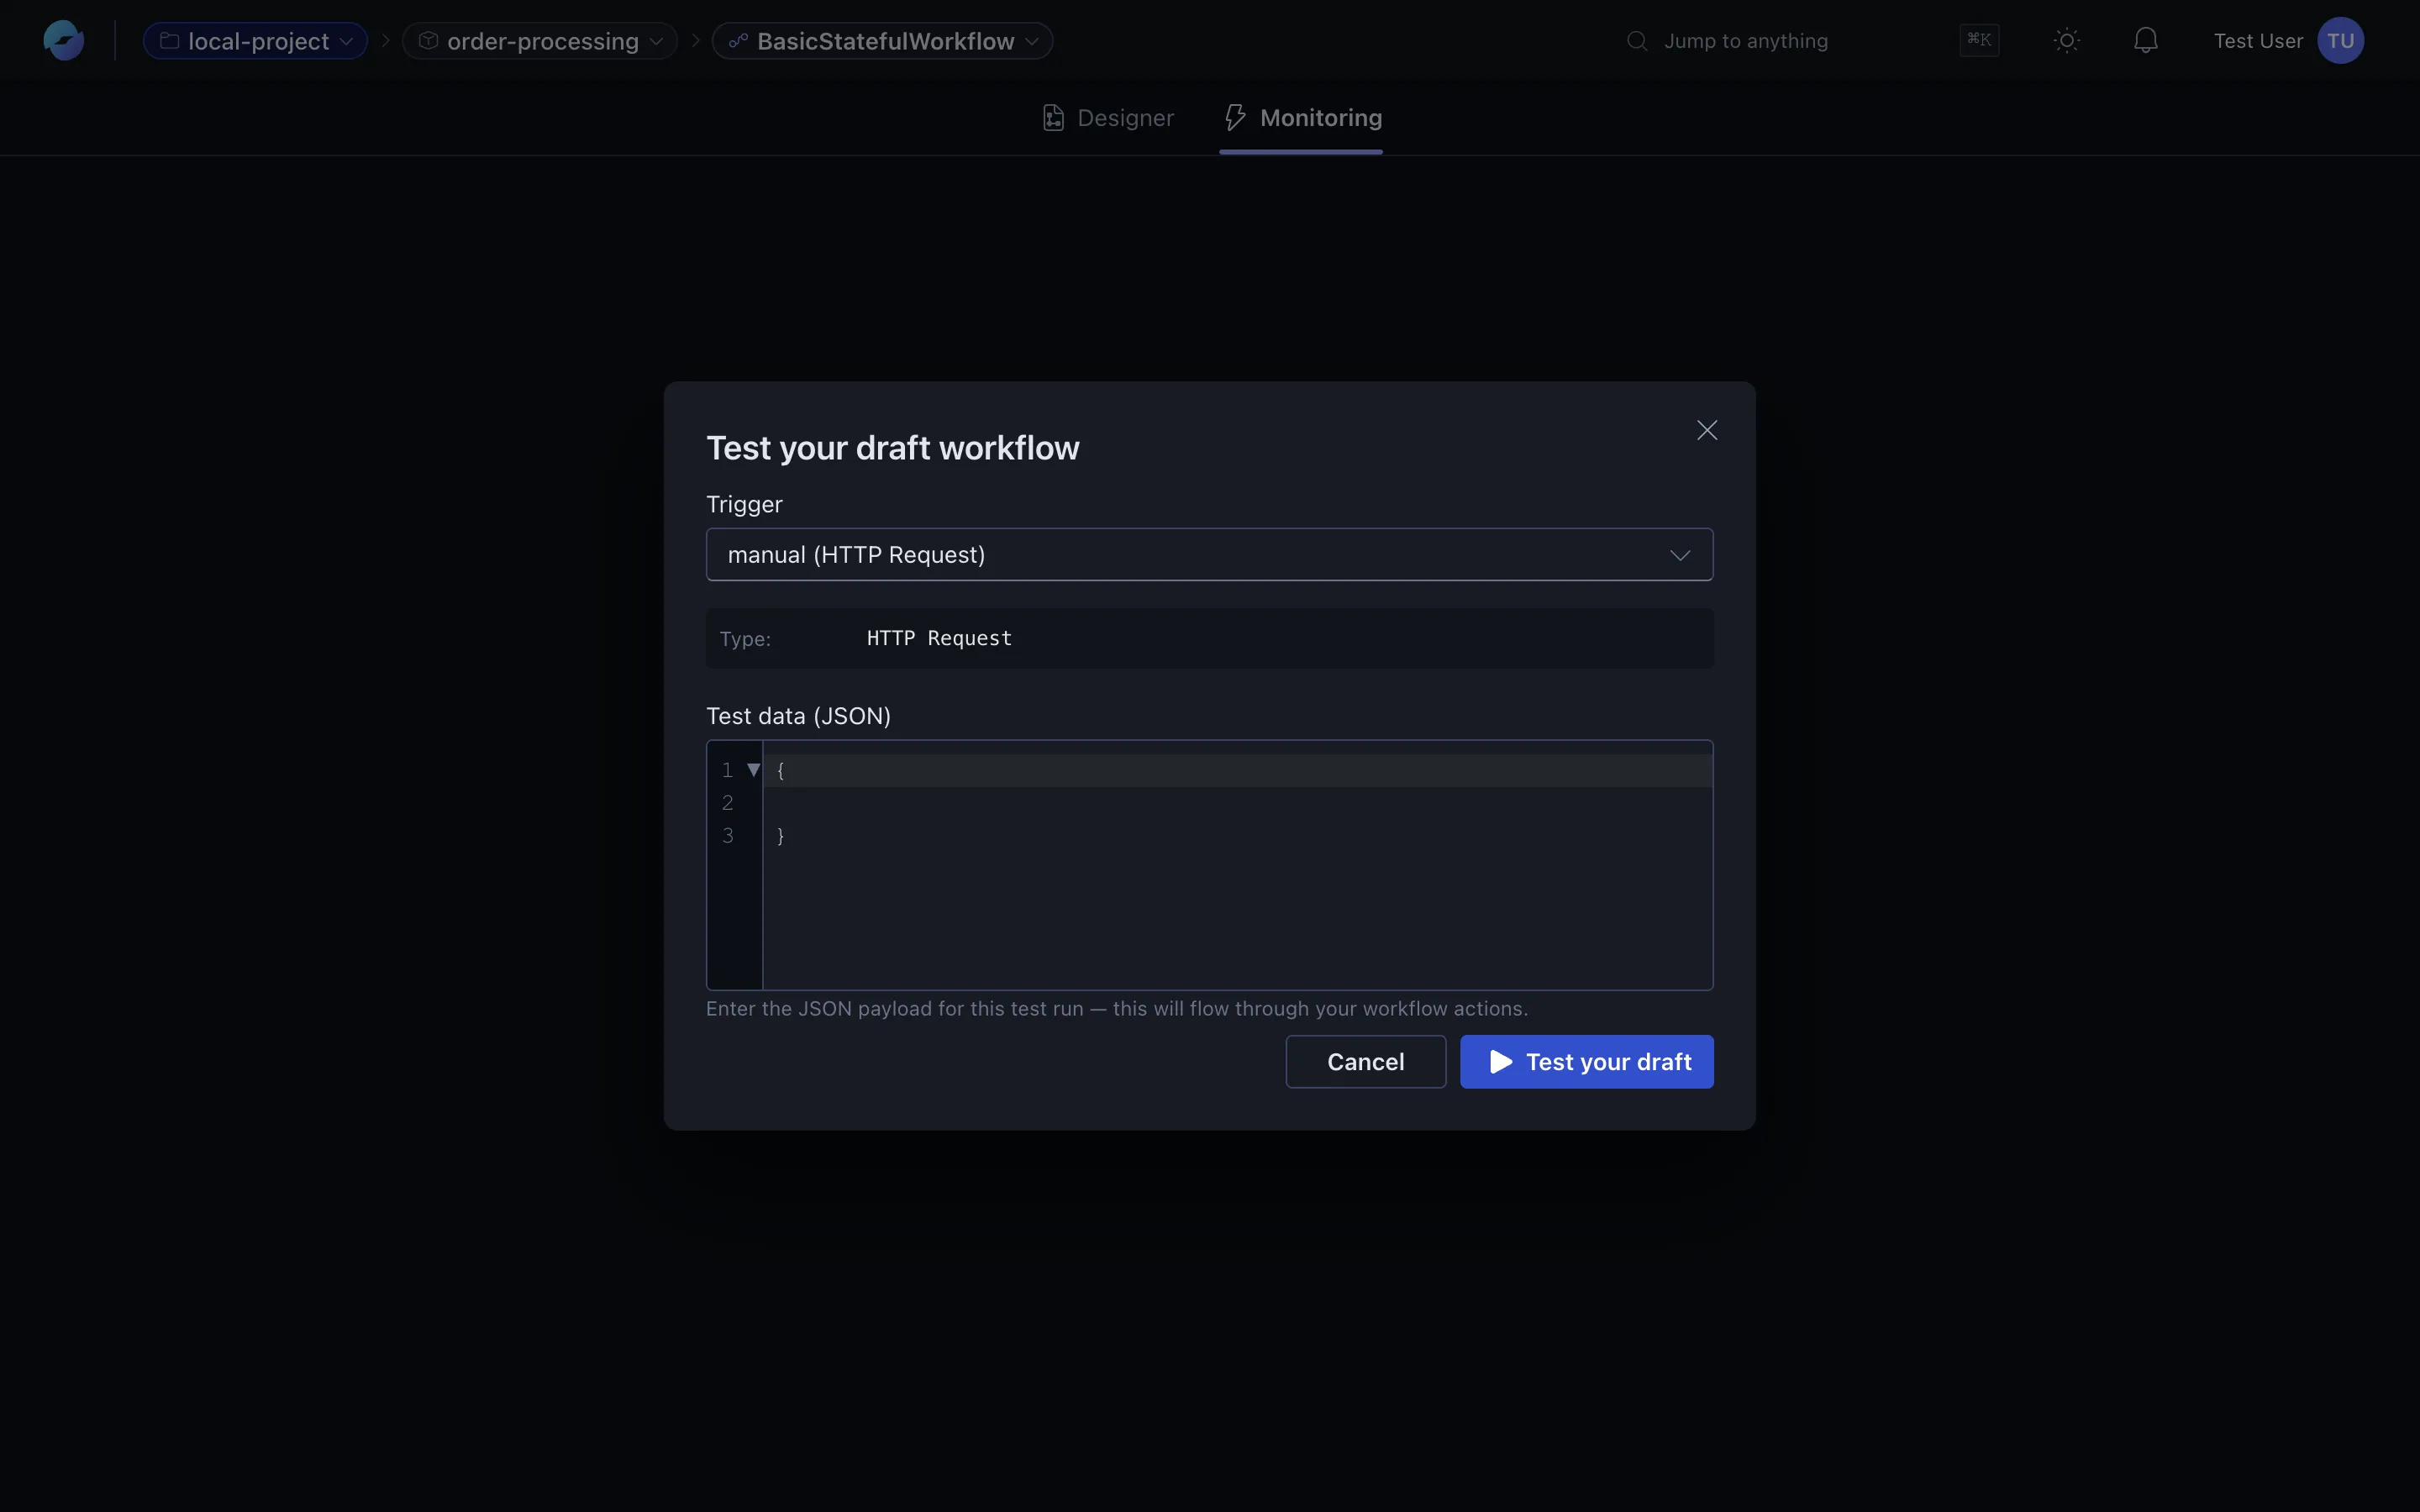
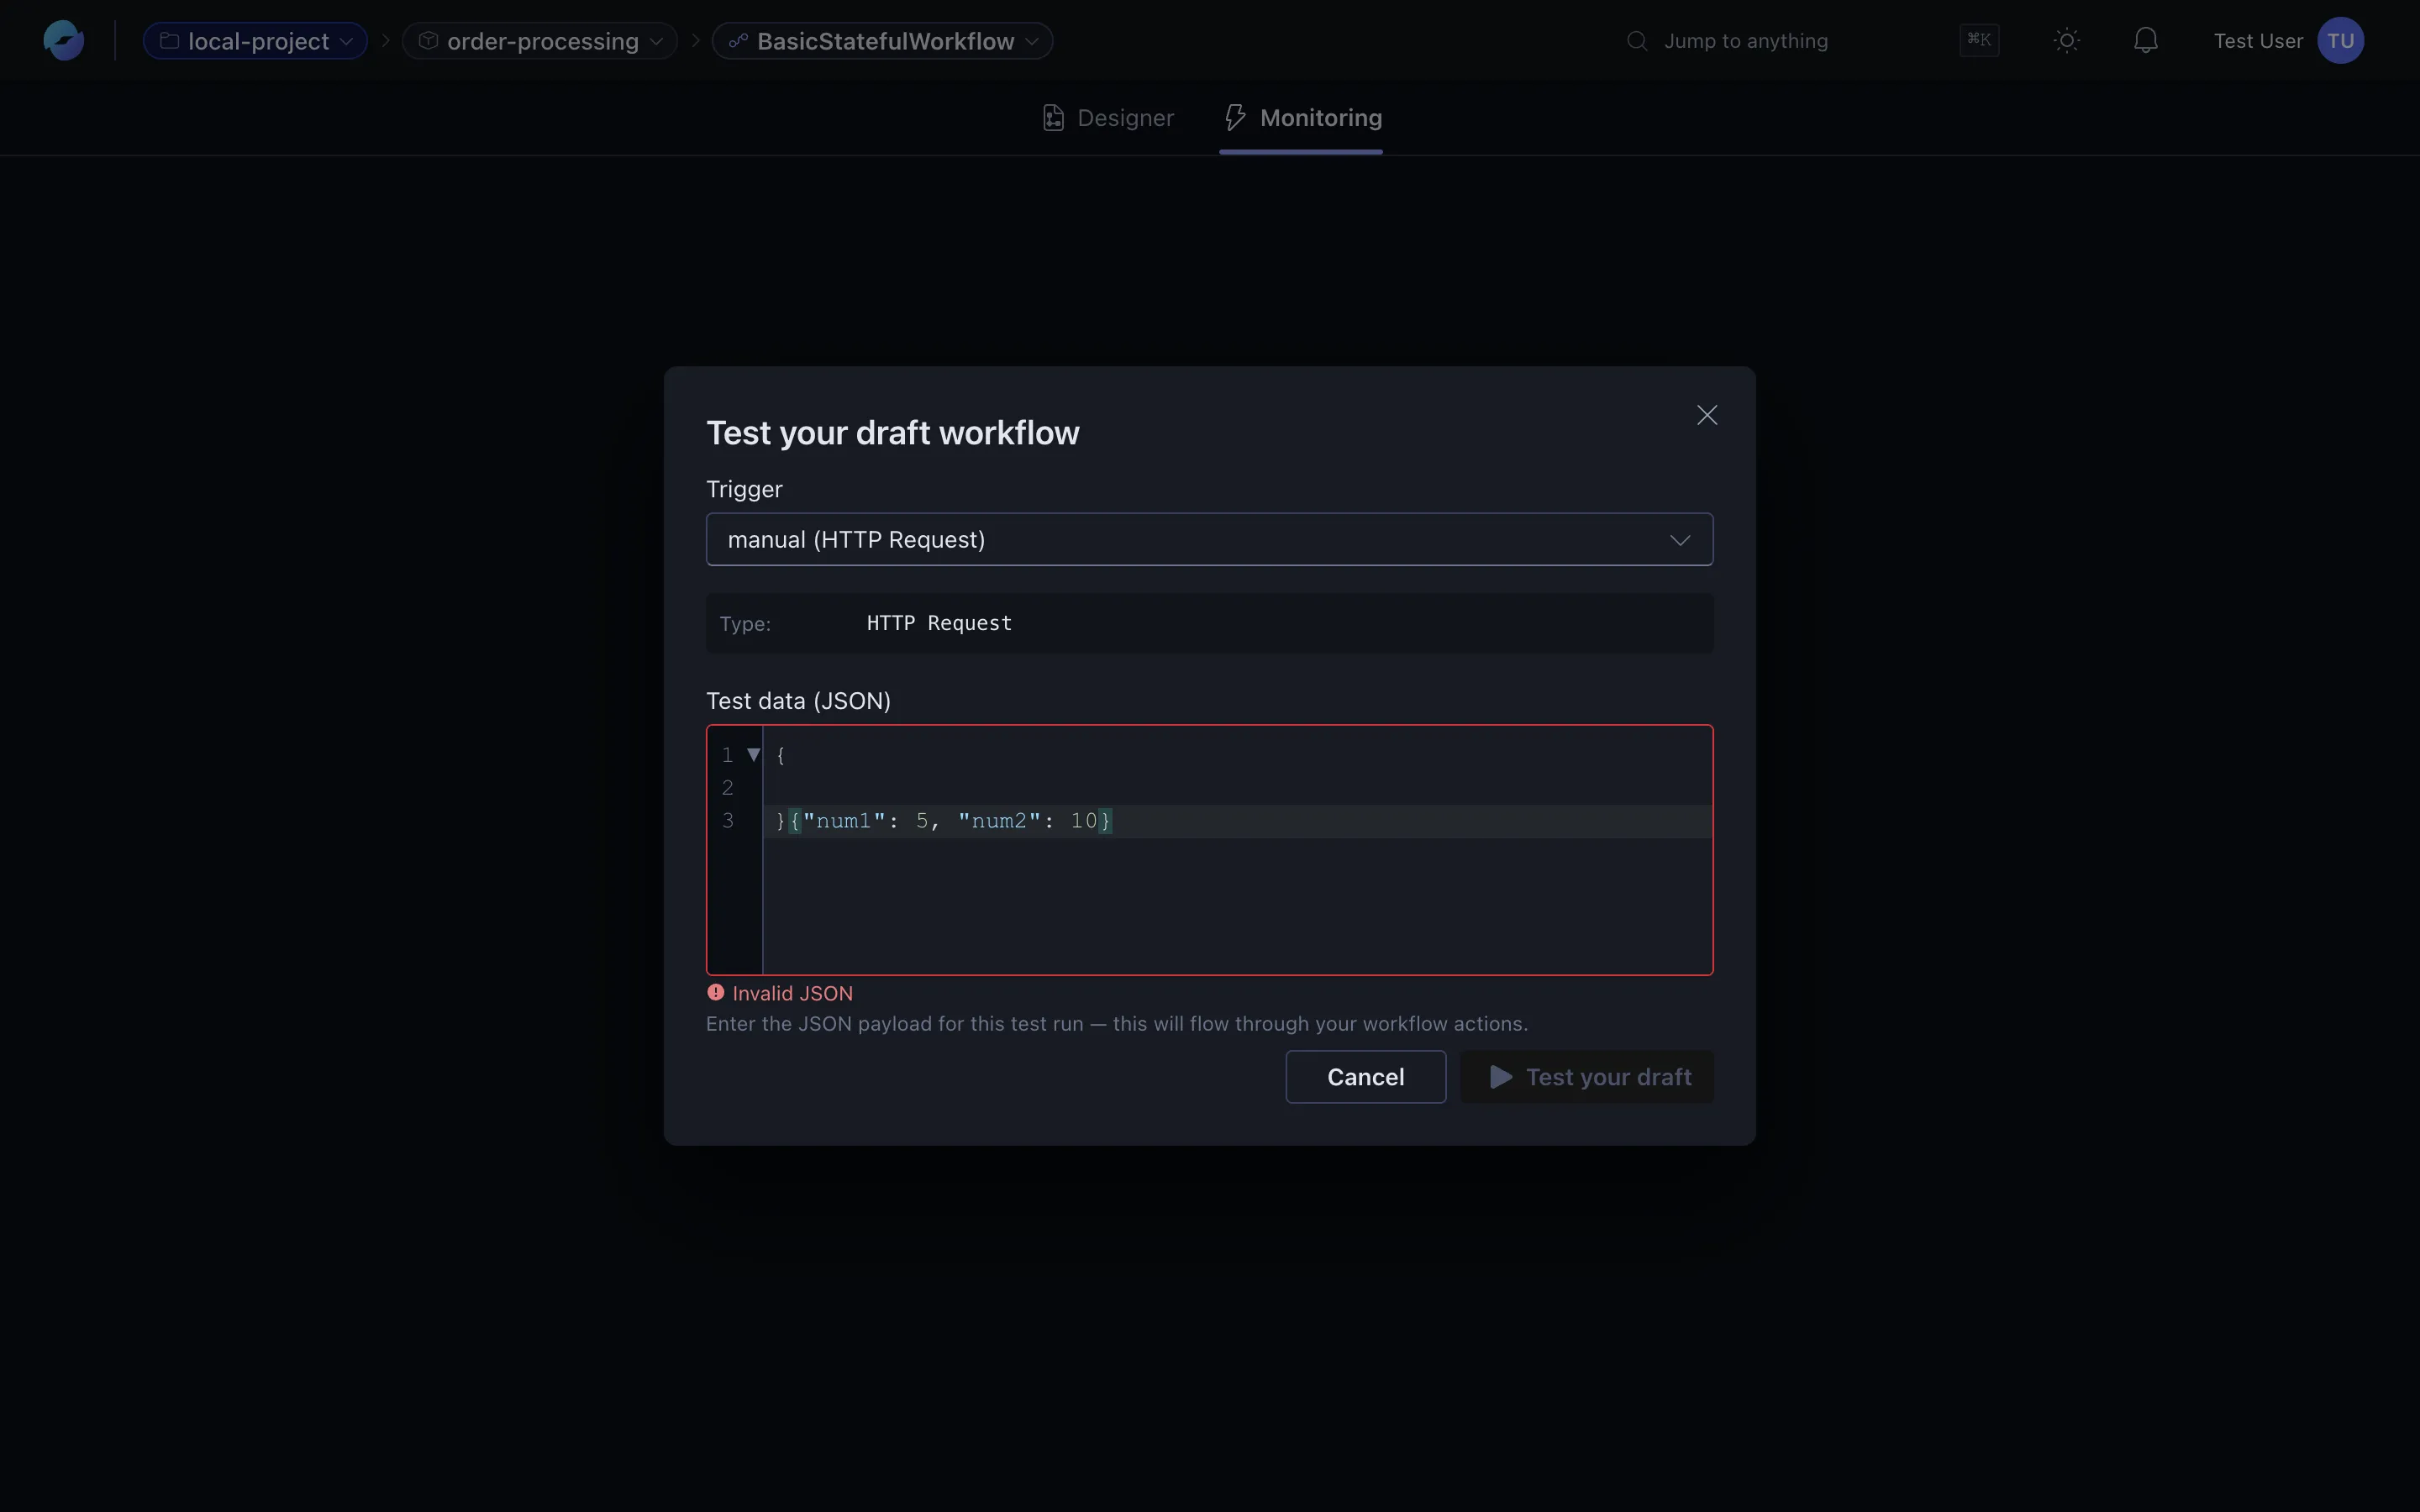
Click Test your draft to execute. The monitoring view streams the run as it happens.
8. Read the run history
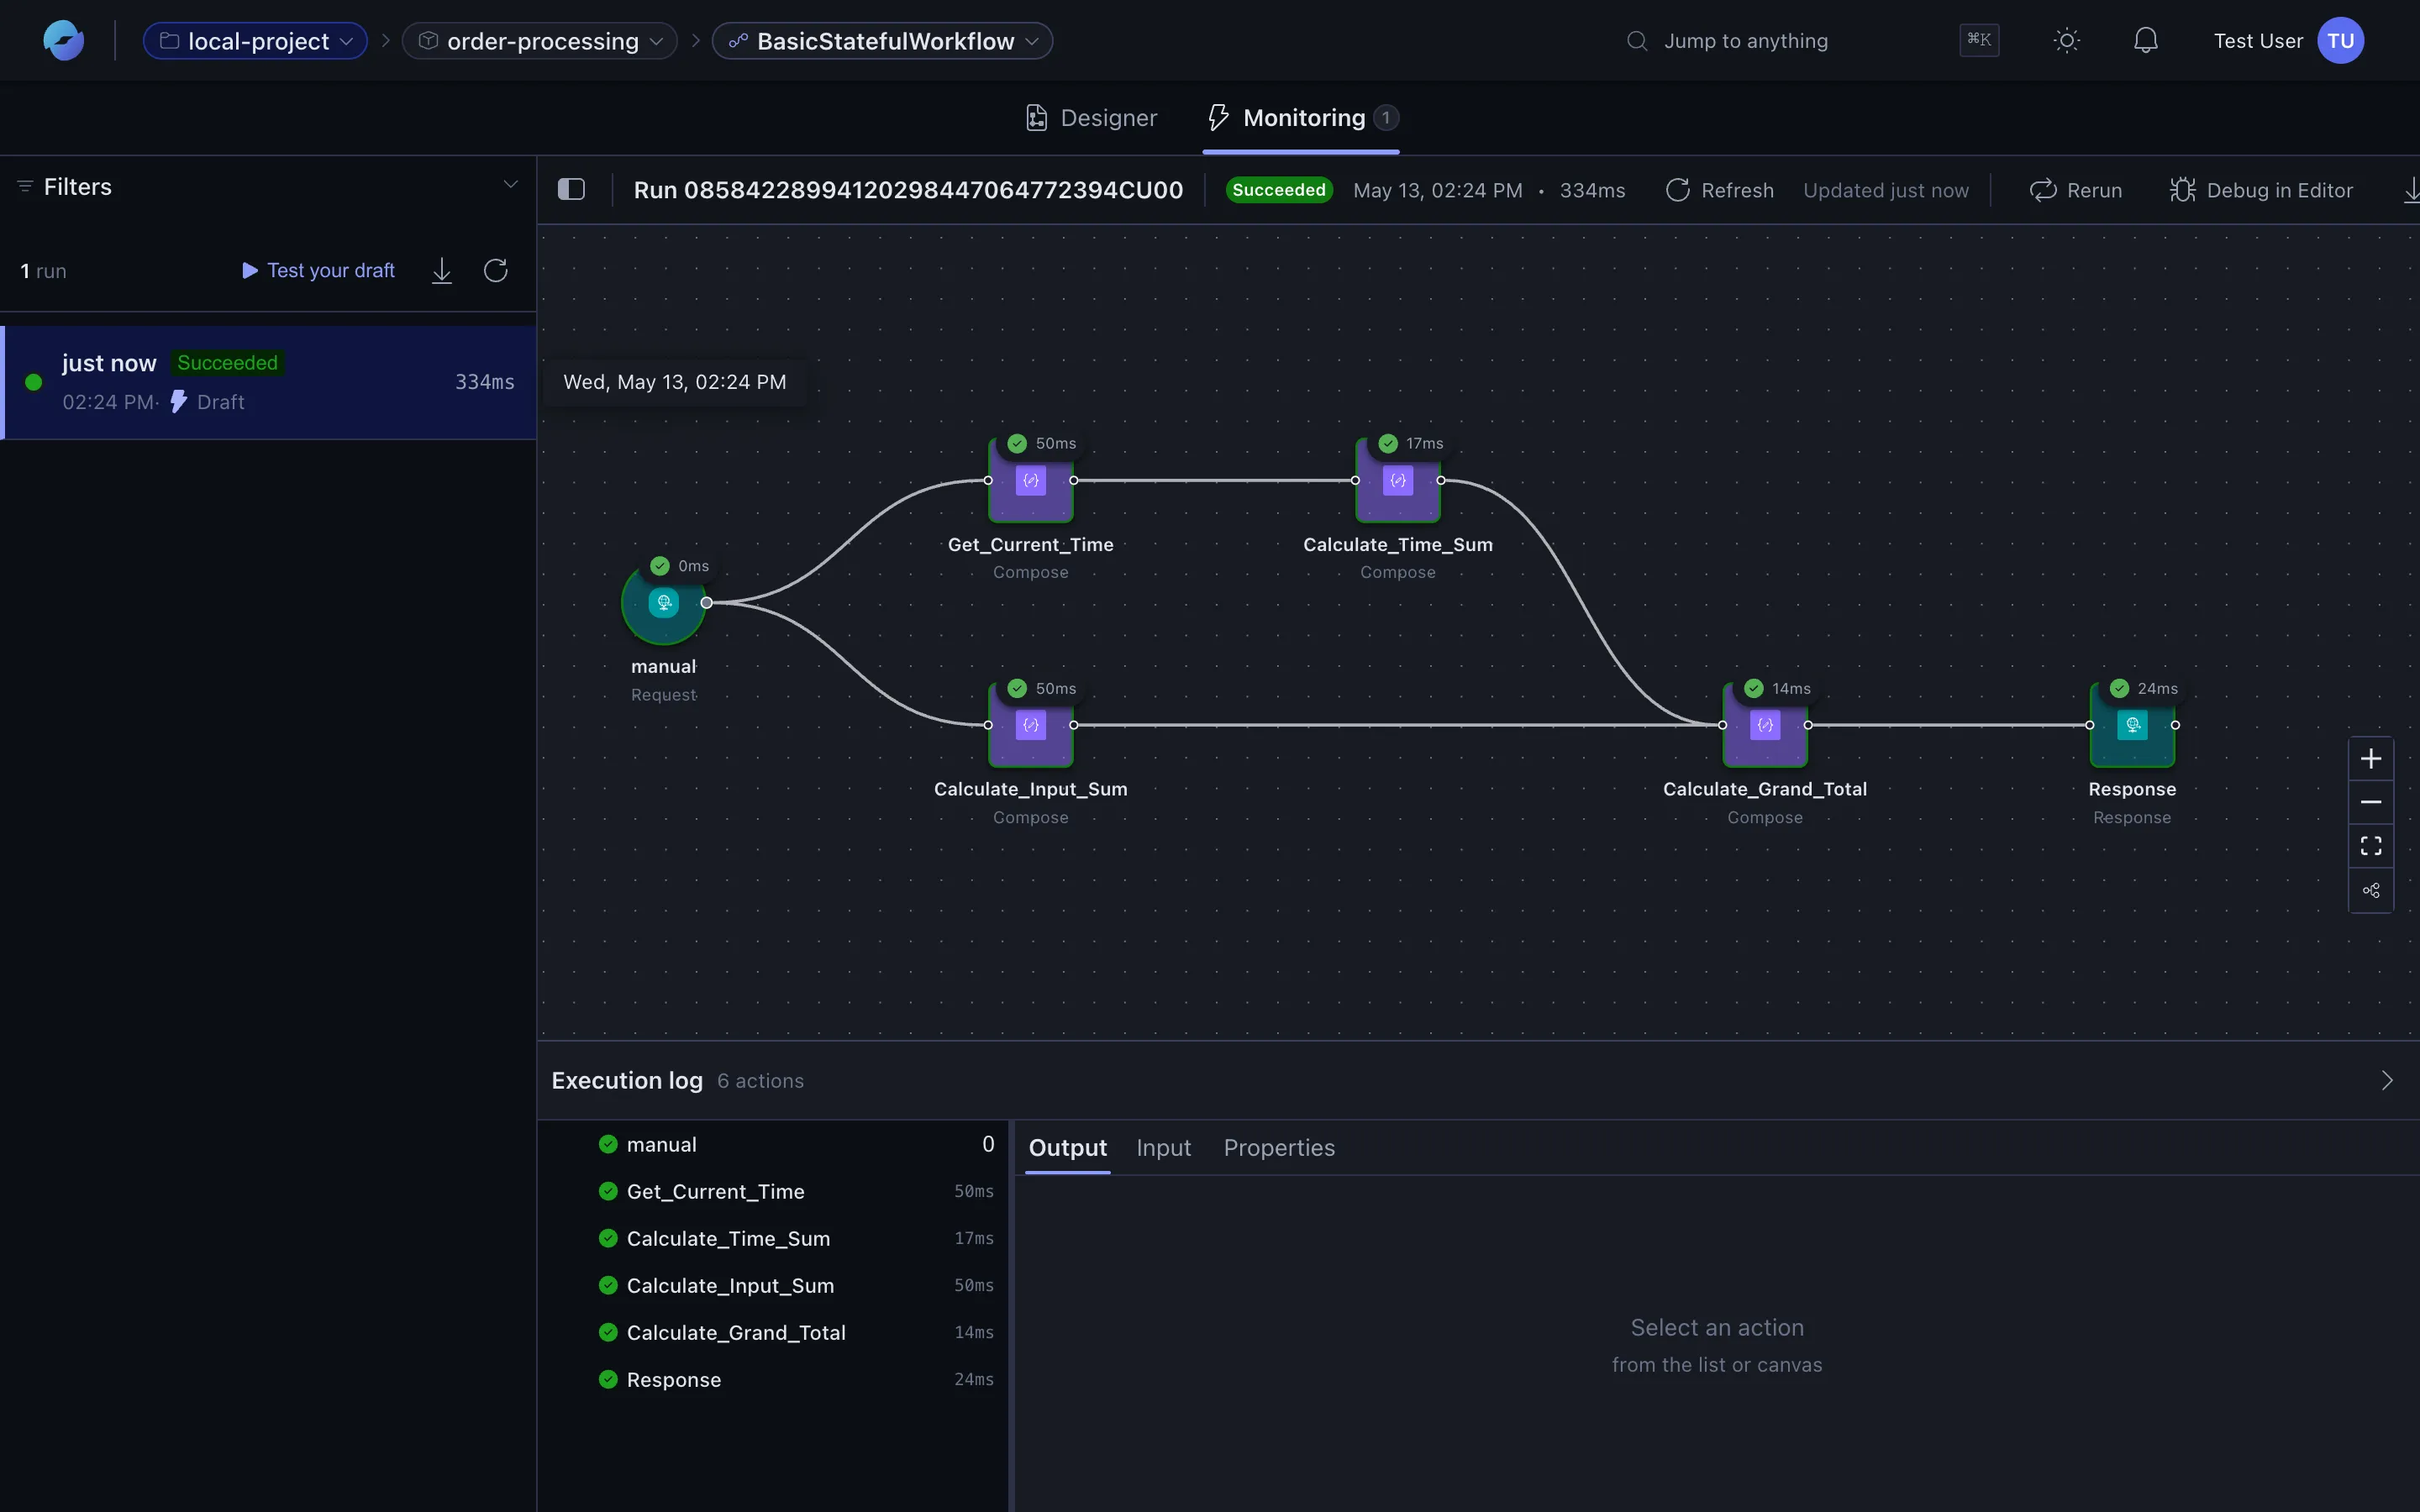
Section titled “8. Read the run history”After a run completes, the Monitoring tab shows it in the left rail with status, timestamp, and duration:
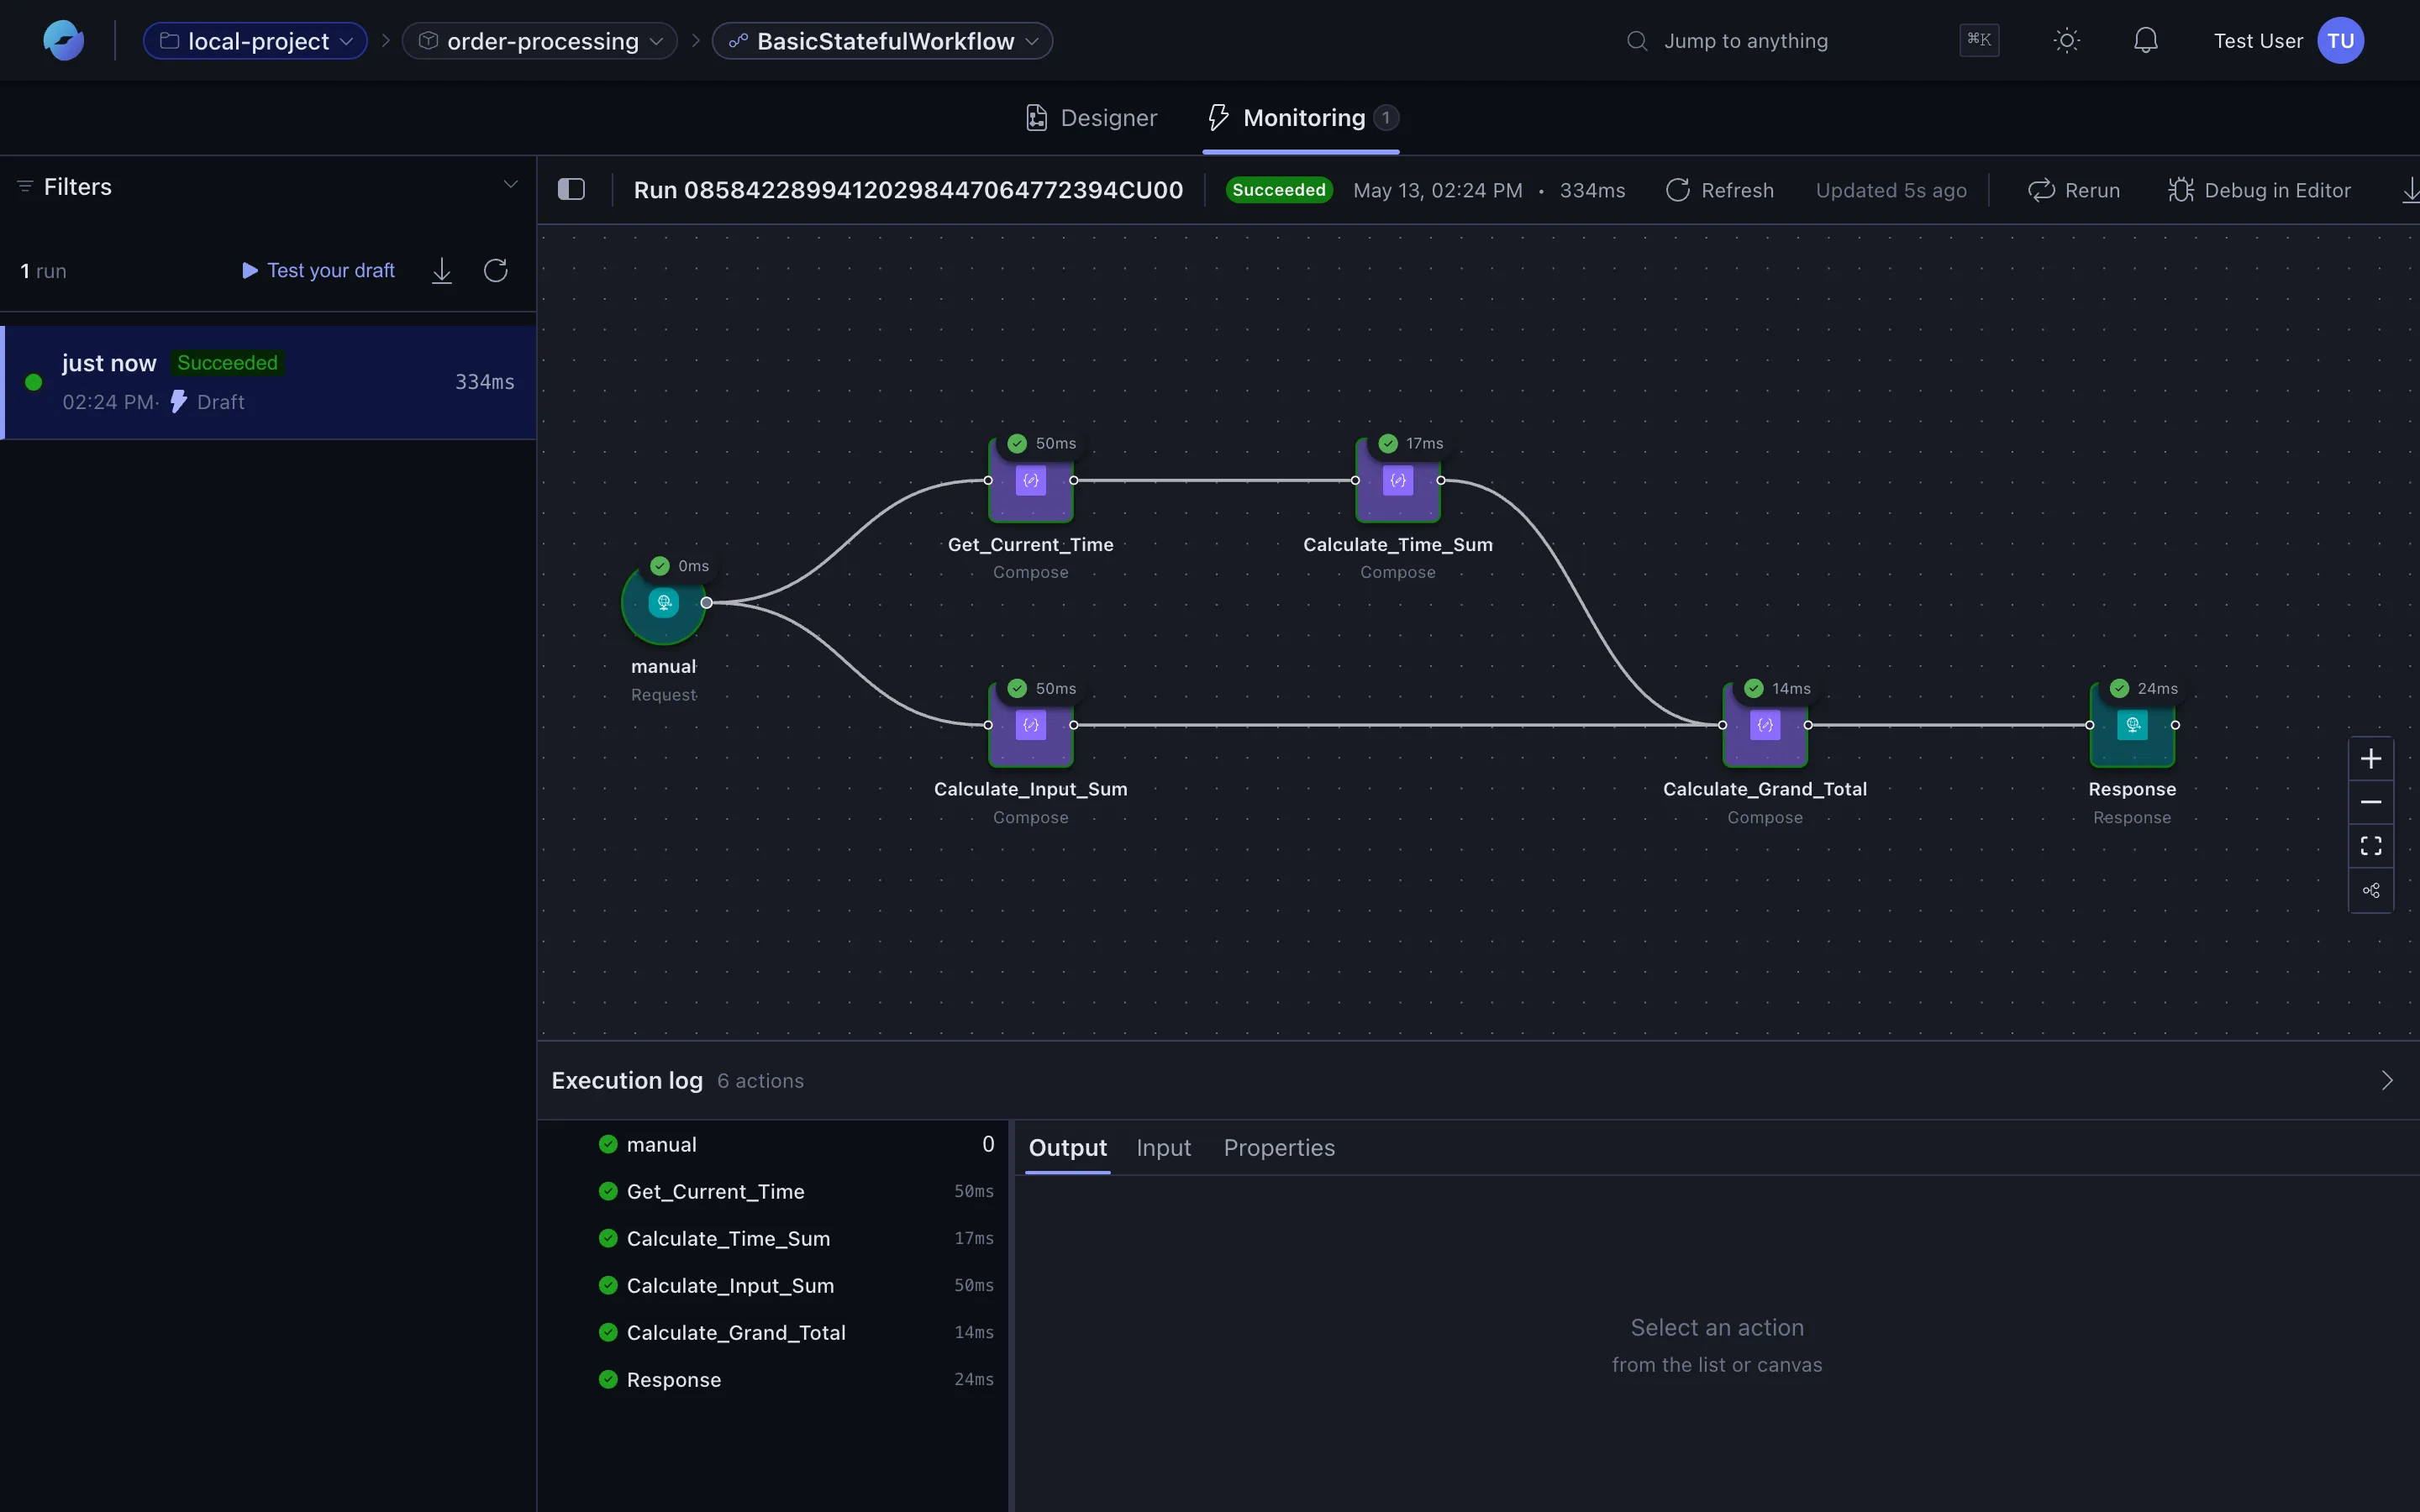
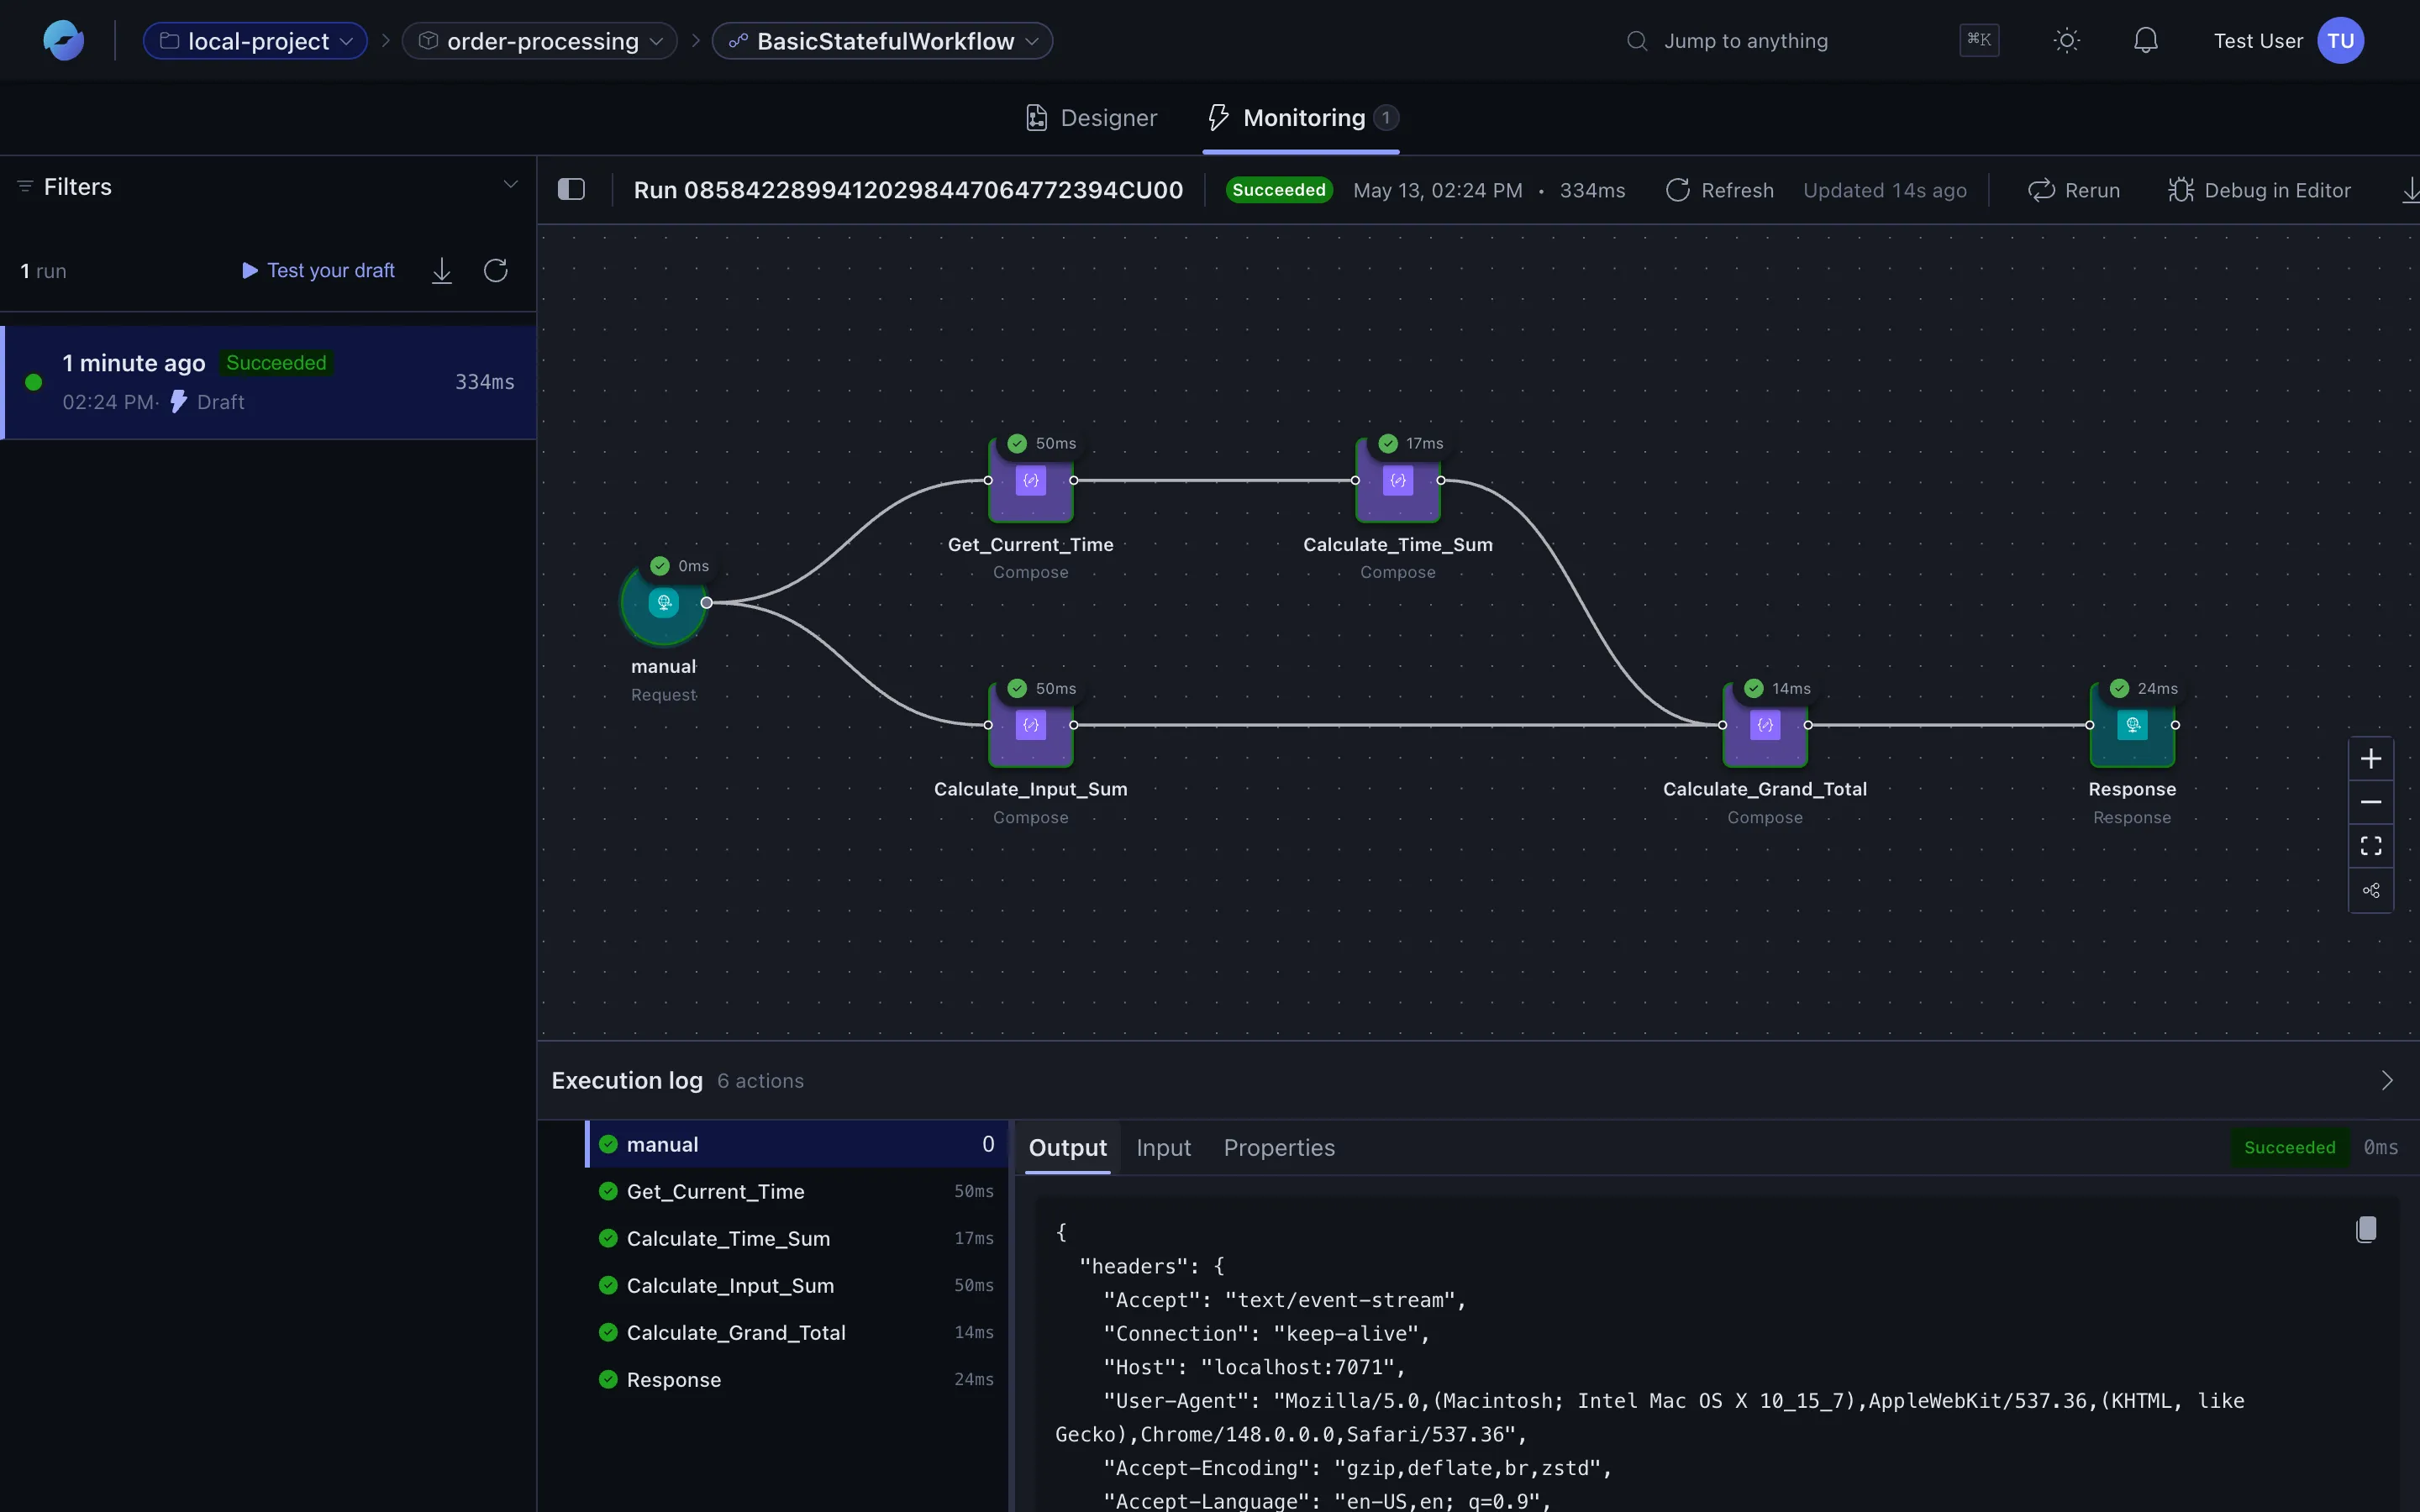
Click the run to open its detail view — the canvas re-renders coloured by execution status, every node shows its duration, and the Execution log at the bottom lists every action in order:
9. Inspect inputs, outputs, and errors
Section titled “9. Inspect inputs, outputs, and errors”Click any action in the execution log (or any node on the canvas) to see what data it received and produced. The Output, Input, and Properties tabs in the bottom panel let you drill in:

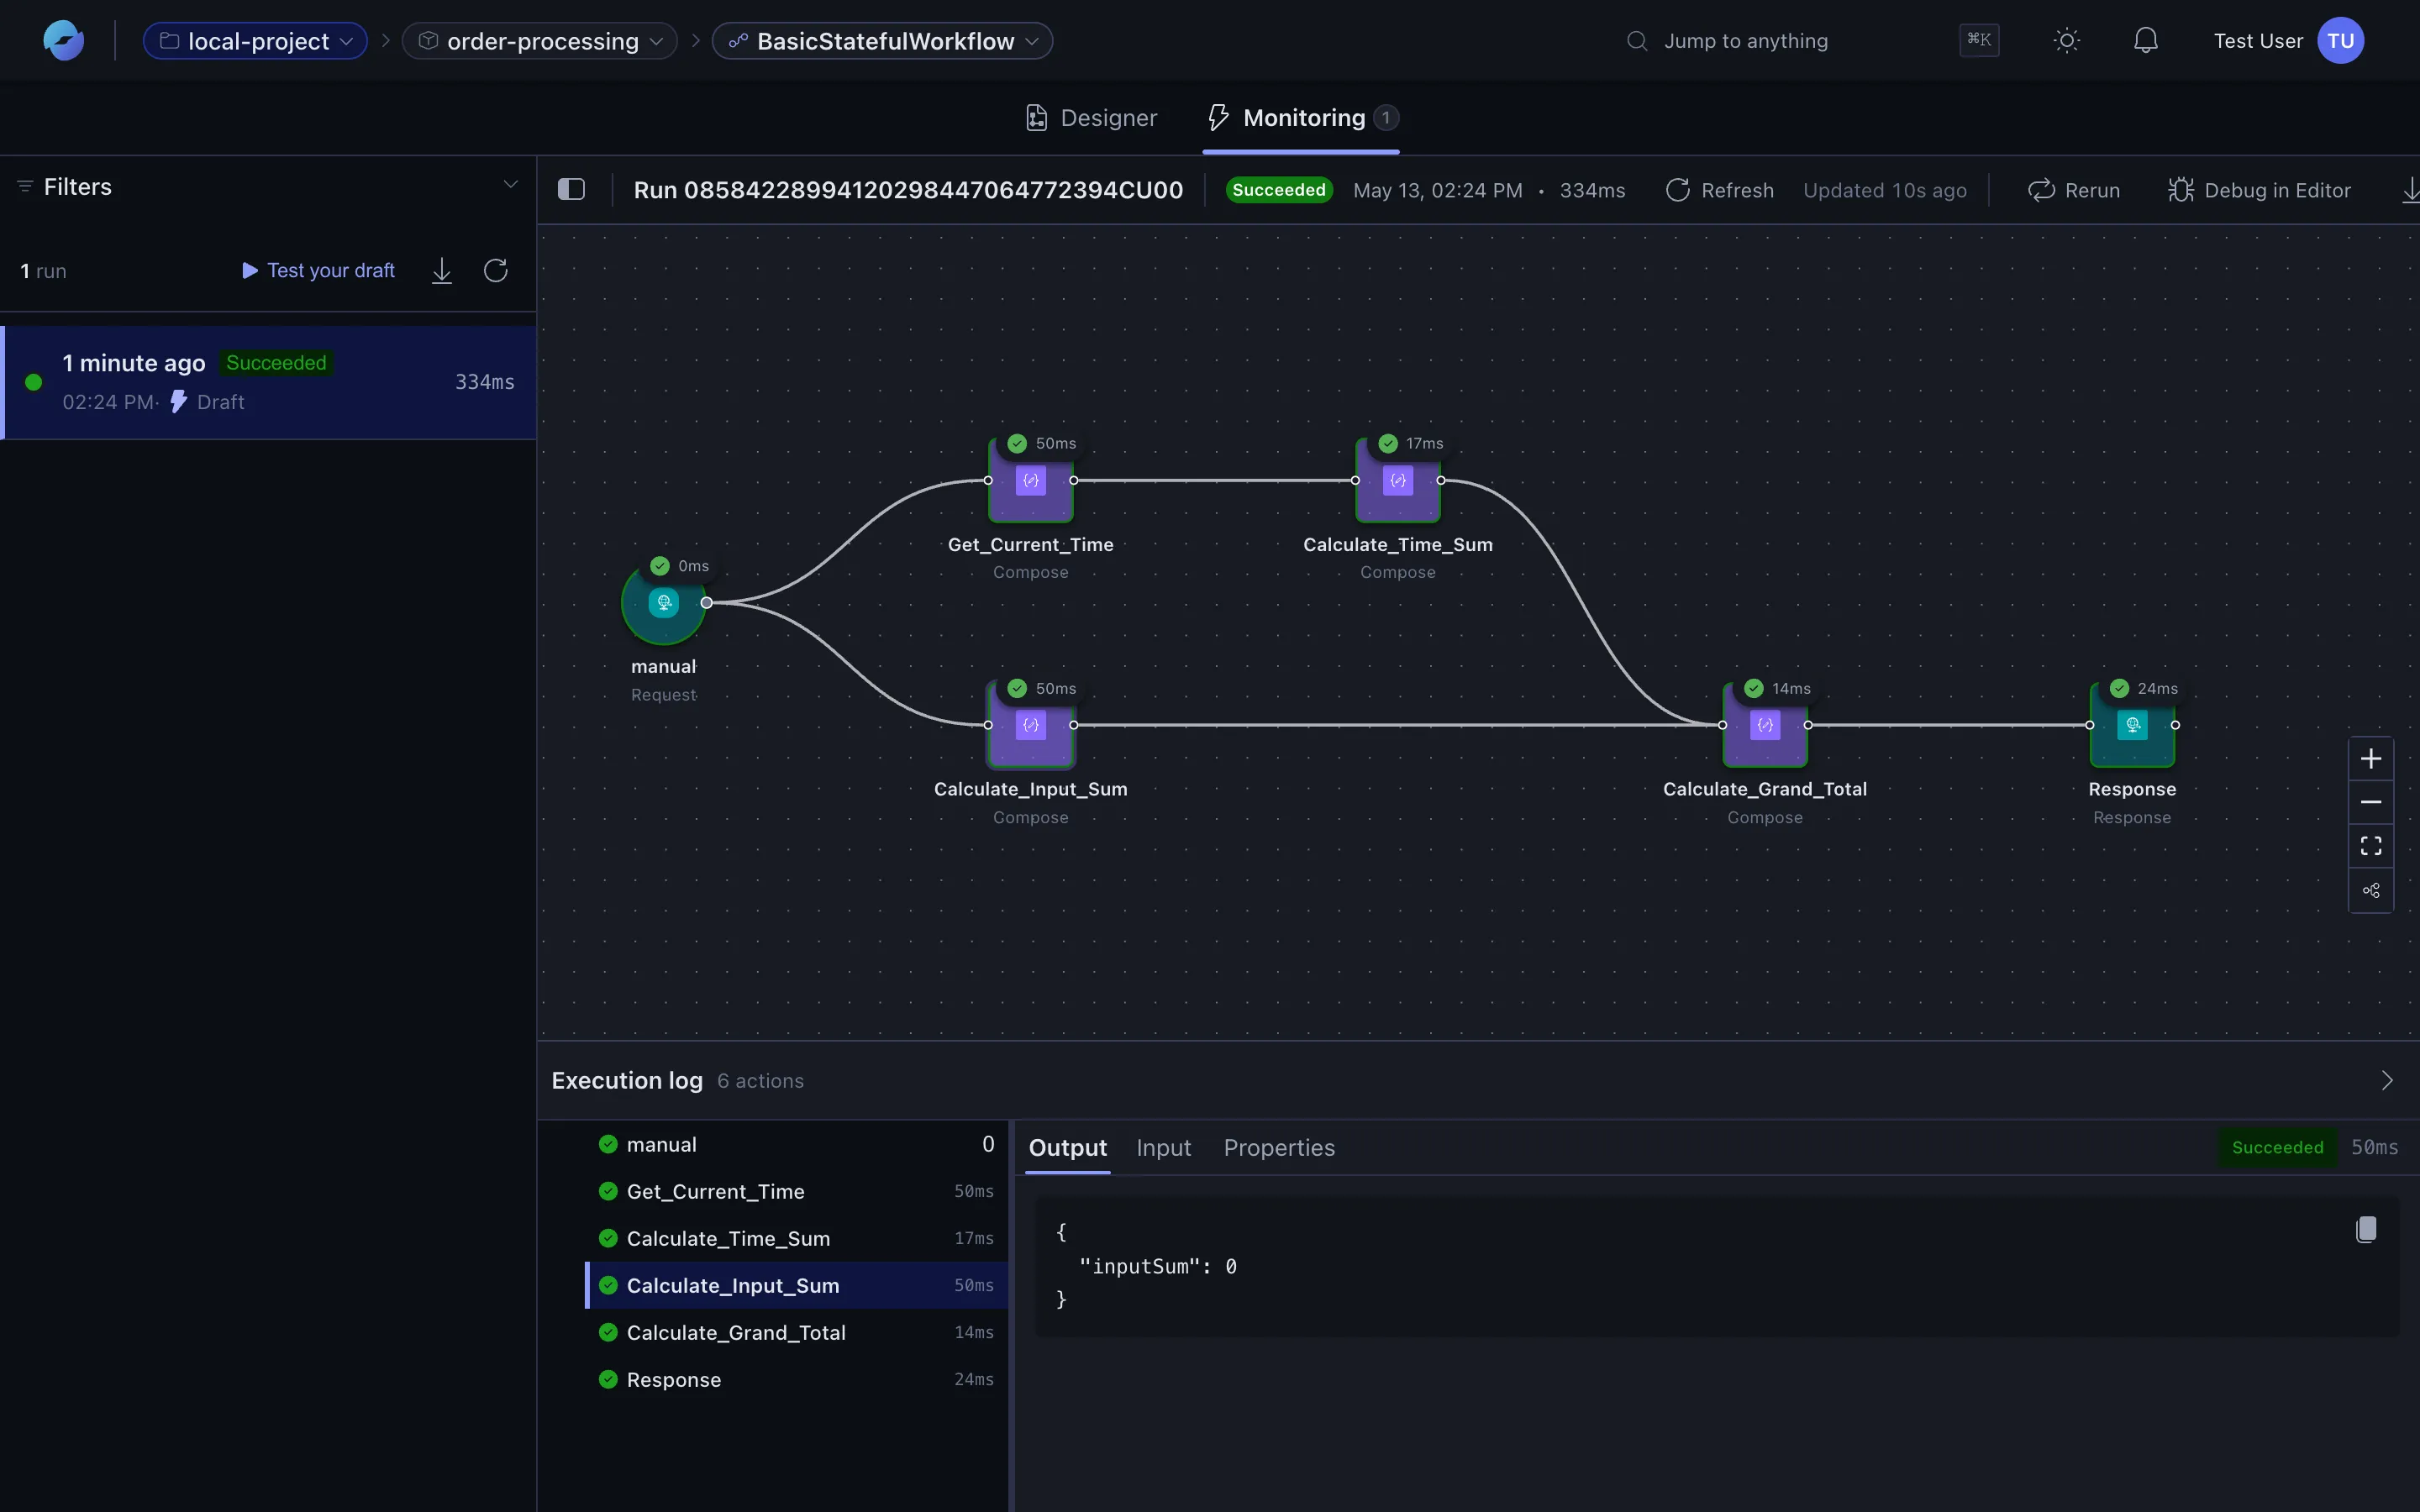
Triggers behave the same way — click manual (or whatever the trigger node is called) to see what came in:
For failed actions, the same panel shows the error message and stack trace so you can diagnose without leaving the run view.
10. Iterate
Section titled “10. Iterate”Edit the workflow in the designer or send follow-ups to the assistant (“add error handling to the HTTP action”, “use a Slack post instead”). Changes go into a draft until you publish.
Where to go from here
Section titled “Where to go from here”- Visual designer — what the canvas can do.
- AI workflow assistant — patterns that work well with the assistant.
- Connectors — the catalog of integrations.
- Runs and monitoring — read run history and watch production health.
- Report a bug if something didn’t work.